License: Standard, Advanced, or Ultimate (Cloud)
Platform: Windows only
Central Management allows administrators to modify AnyDesk client settings in real time using my.anydesk II. You can apply configuration changes to deployed clients immediately without reinstalling them.
Central Management is currently available only for Windows. Support for additional operating systems will be available in the near future.
Overview
When Central Management is enabled in my.anydesk II, you can apply updates to custom builds or specific licensed clients. These updates take effect immediately on the clients.
All configuration changes are digitally signed using a Private Key. To access the full capabilities of Central Management, you must:
Generate a Private Key.
Download and securely store it.
Provide the key during each login to my.anydesk II to use Central Management features.
🦉 For more details about the Private key, see this article.
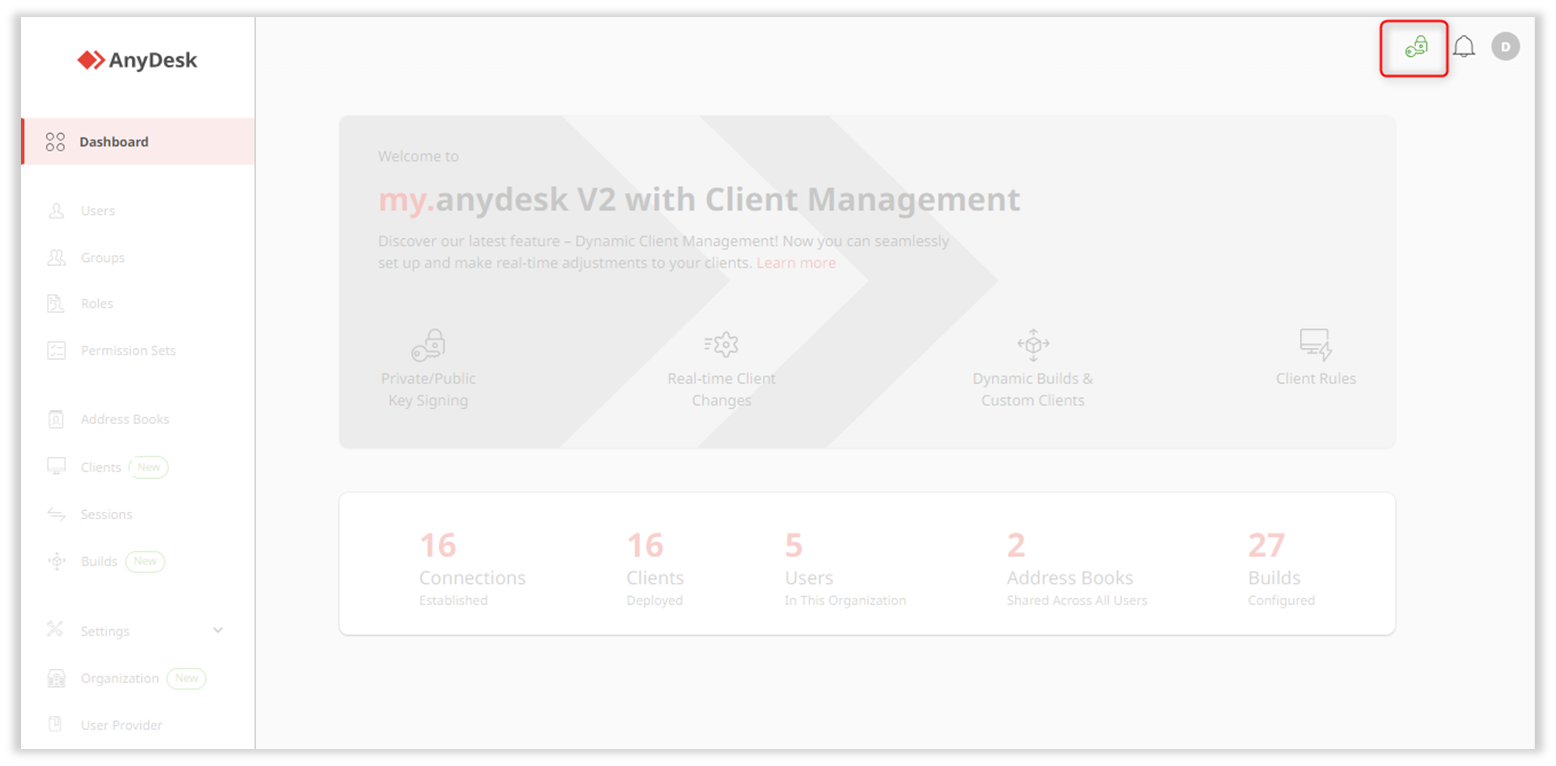
You can check the status of Central Management in the upper-right corner of the my.anydesk II, near the notification icon:
Activating central management
To activate Central Management:
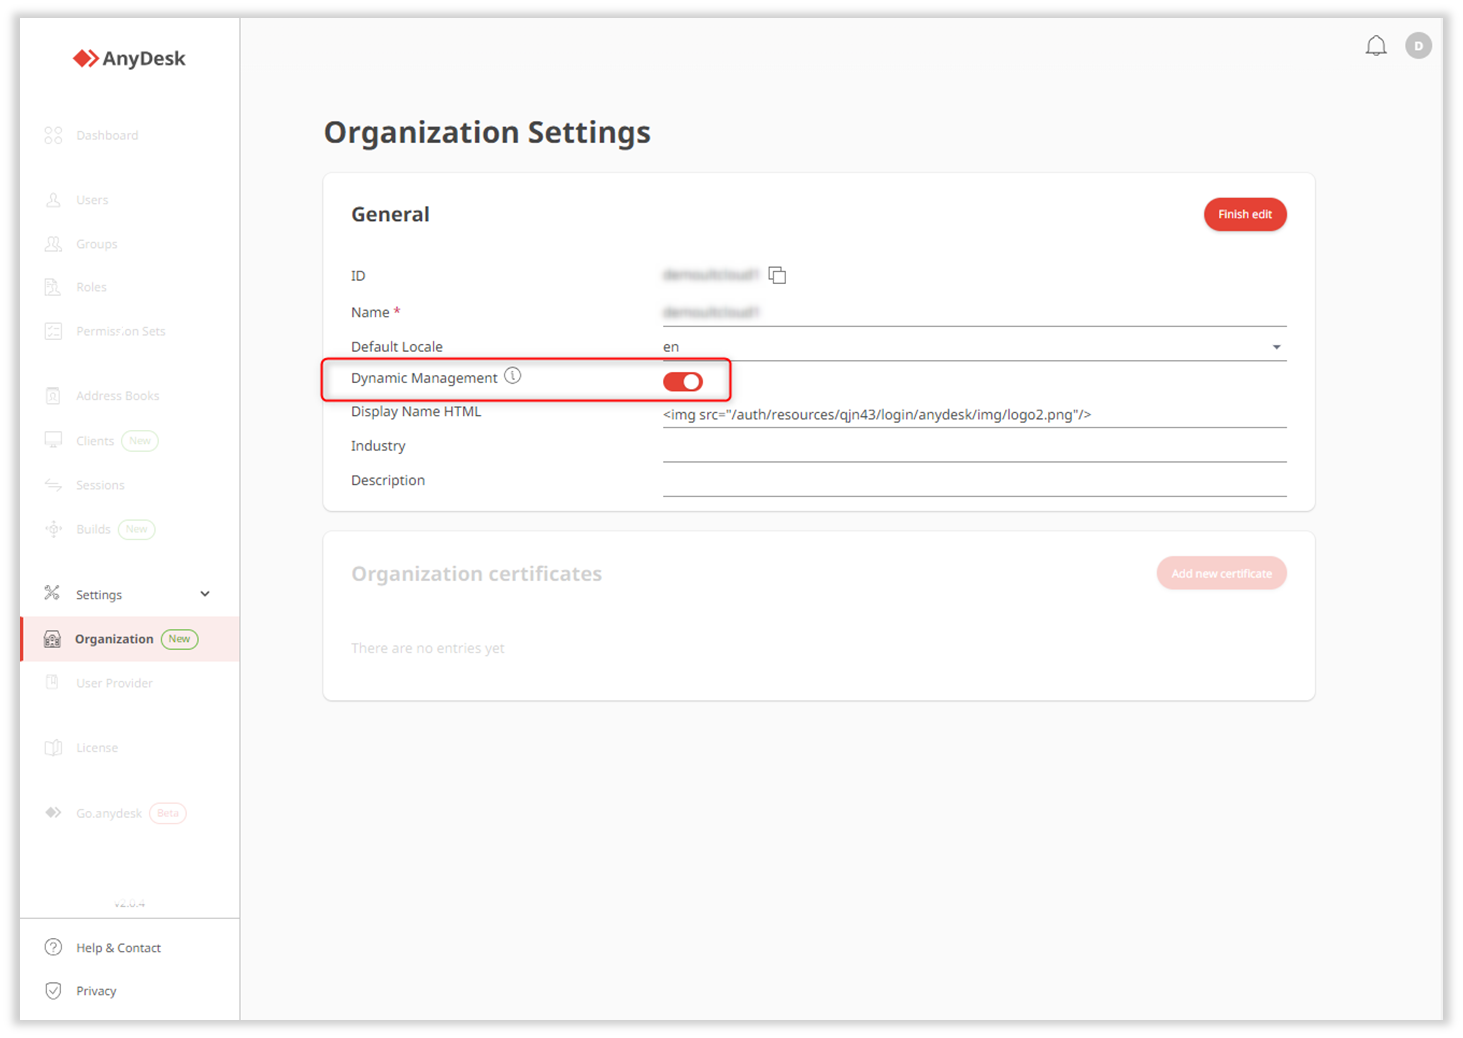
Sign in to my.anydesk II and go to Organization.
⚠️ Complete your Team or Organization setup before proceeding.In the General section, click Edit and then enable the Dynamic Management toggle.

In the Dashboard, click Generate Private Key.
In the Save Private Key window, download and securely store the key. Confirm by selecting the checkbox and clicking Continue.
⚠️ The Private Key is only generated once and cannot be recovered if lost. Please make sure it's securely stored.In the Activate Client Management window, click Provide Private Key.
Paste the key and click Continue.
After successful activation, a status icon ![]() will appear in the upper-right corner of the Dashboard. You must provide the Private Key each time you sign in to my.anydesk II to use Central Management.
will appear in the upper-right corner of the Dashboard. You must provide the Private Key each time you sign in to my.anydesk II to use Central Management. 
You can now modify custom builds, edit individual clients, and configure default settings without redeploying the client.
FAQ
What features does Central Management offer?
Central Management offers:
Dynamic Builds - automatically applies changes to all clients linked to a specific build.
Dynamic Client Configuration - modify individual clients dynamically.
Who is the Central Management for?
This feature is available for users with a Standard, Advanced, or Ultimate (Cloud) license. It is designed for IT admins who provide support to their colleagues in their organization and need effortless client customization in real time.
Do I need to reinstall clients after making changes with Central Management?
No, changes take effect immediately on AnyDesk clients without the need for reinstallation.
Is the Private Key recoverable if lost?
No, the Private Key is only generated once and cannot be recovered if lost.
Can I customize individual clients?
Yes, you can edit individual clients dynamically and manage their features.
How do I know if Central Management is activated?
You can check the activation status in the upper-right corner of my.anydesk II near the notification bell.