Platform: Windows, macOS, Linux, Android
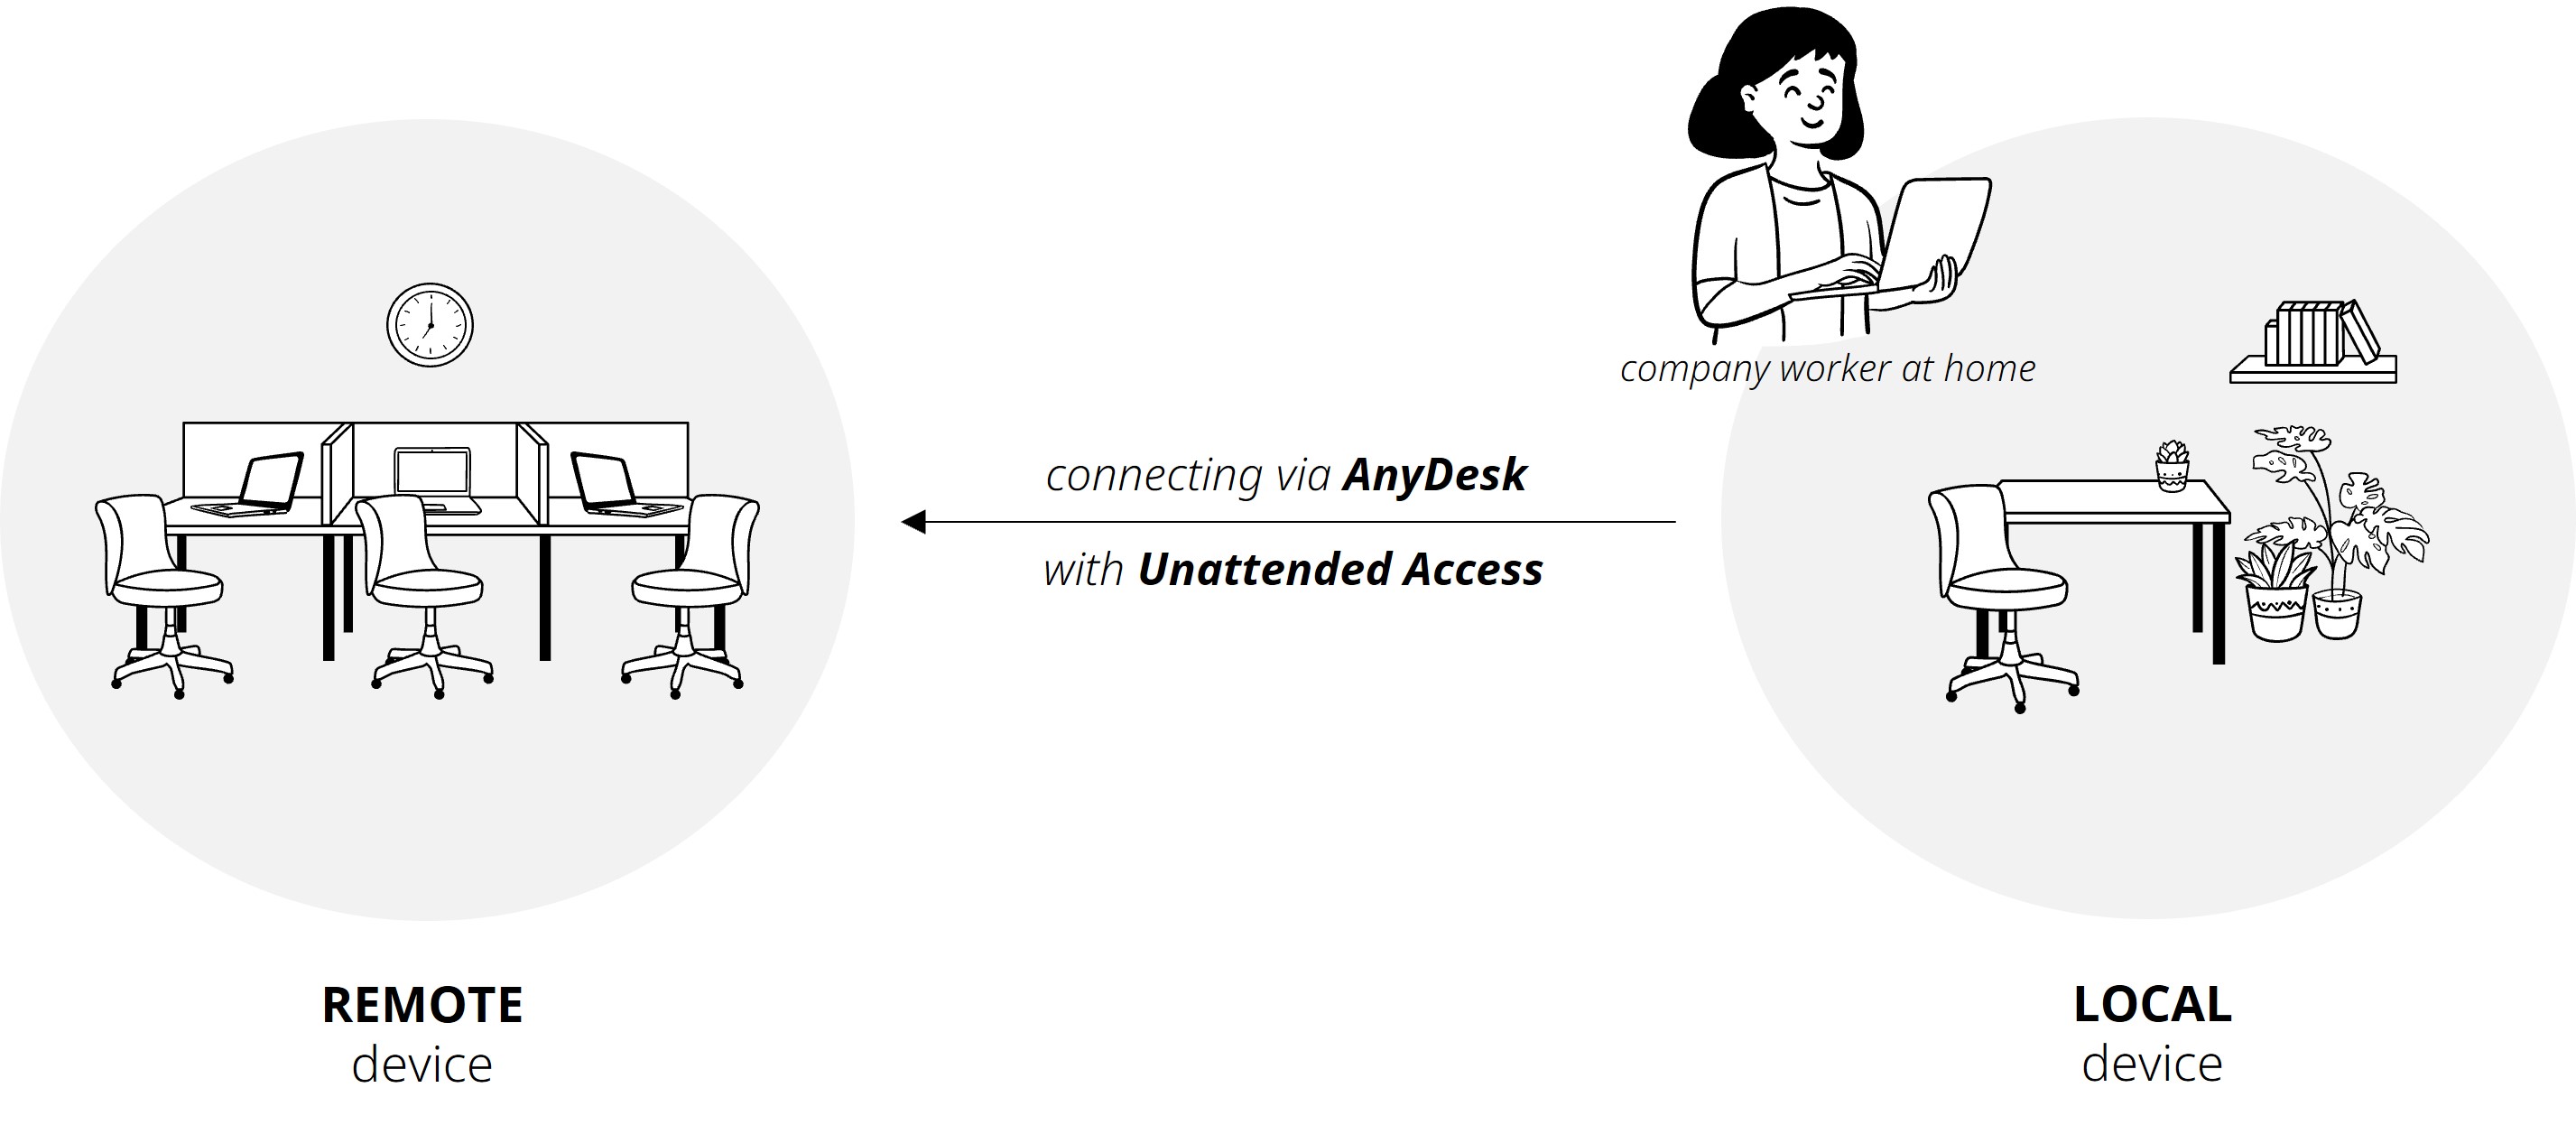
Unattended Access allows you to manage and control remote devices even when no one is physically present at the remote side to accept the connection.
In this article, you'll learn how to set up and connect to a remote device via unattended access.
Overview
Unattended Access lets you connect to a device even when no one is on the other side. It’s ideal for remote work, system maintenance, and managing always-on devices.
Common use cases for Unattended Access sessions:
Work remotely
Access your office or home computer from anywhere. Open files, use applications, or check progress, just like you were sitting in front of it.Maintain and support devices
Keep systems up to date, install software, or fix issues without needing someone on the remote side to accept your connection.
Manage unattended devices
Remotely support devices like kiosks, digital signage, POS systems, or other devices that are always running but not actively used by people.
Connect to locked or logged-out devices
Connect to a device even if no one has signed in yet, for example, right after a reboot or when the system is locked. Before someone signs in to the remote computer’s operating system (like Windows or macOS), the operating system can’t display pop-up windows such as the Connection Accept window. With Unattended Access enabled, you can still connect securely by entering your Unattended Access credentials and log in to the system remotely.
24/7 or cross-time-zone operations
Keep servers and remote systems available 24/7. Ideal for global teams working across different time zones.
Save time and travel
Avoid on-site visits by managing and troubleshooting remote devices and systems remotely.
Setting up Unattended Access
By default, Unattended Access is disabled in the AnyDesk app. When Unattended Access is disabled, a person must be present to manually accept or reject the connection request using the Connection Accept window.
To enable Unattended Access, set a password in the AnyDesk app on the remote device. You can then use this password to connect from your local device.
💡 NOTE
You can use either the portable or installed version of AnyDesk for Unattended Access. Installing it is optional, but it helps you stay connected after a restart or sign-out.
To set up Unattended Access:
On the remote Windows or macOS device, open AnyDesk and go to Settings > Access.
In the Unattended Access section, click Set password.
🚨 IMPORTANTThe password must be at least 8 characters long and shouldn’t use simple or repeating patterns. Use a mix of letters, numbers, and symbols for stronger security. A password longer than 12 characters is highly recommended, as anyone with your password and AnyDesk ID could gain full access to your device depending on the configured permissions.
Create a secure password and click Apply.
By completing these steps, you will enable Unattended Access on your remote device, allowing you to connect and manage it remotely at any time.
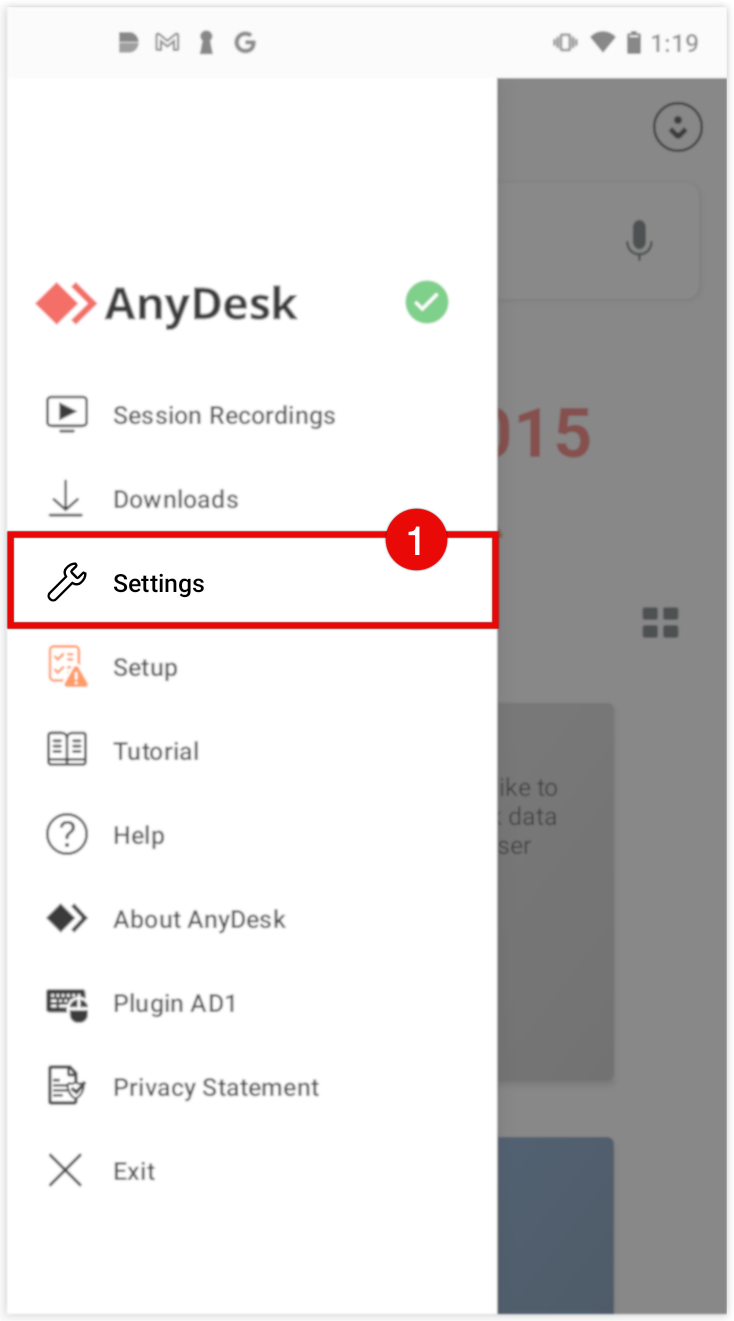
On the remote Android device, open AnyDesk and tap
 .
. Go to Settings > Permissions > Permission Profiles.
.png)
.png)
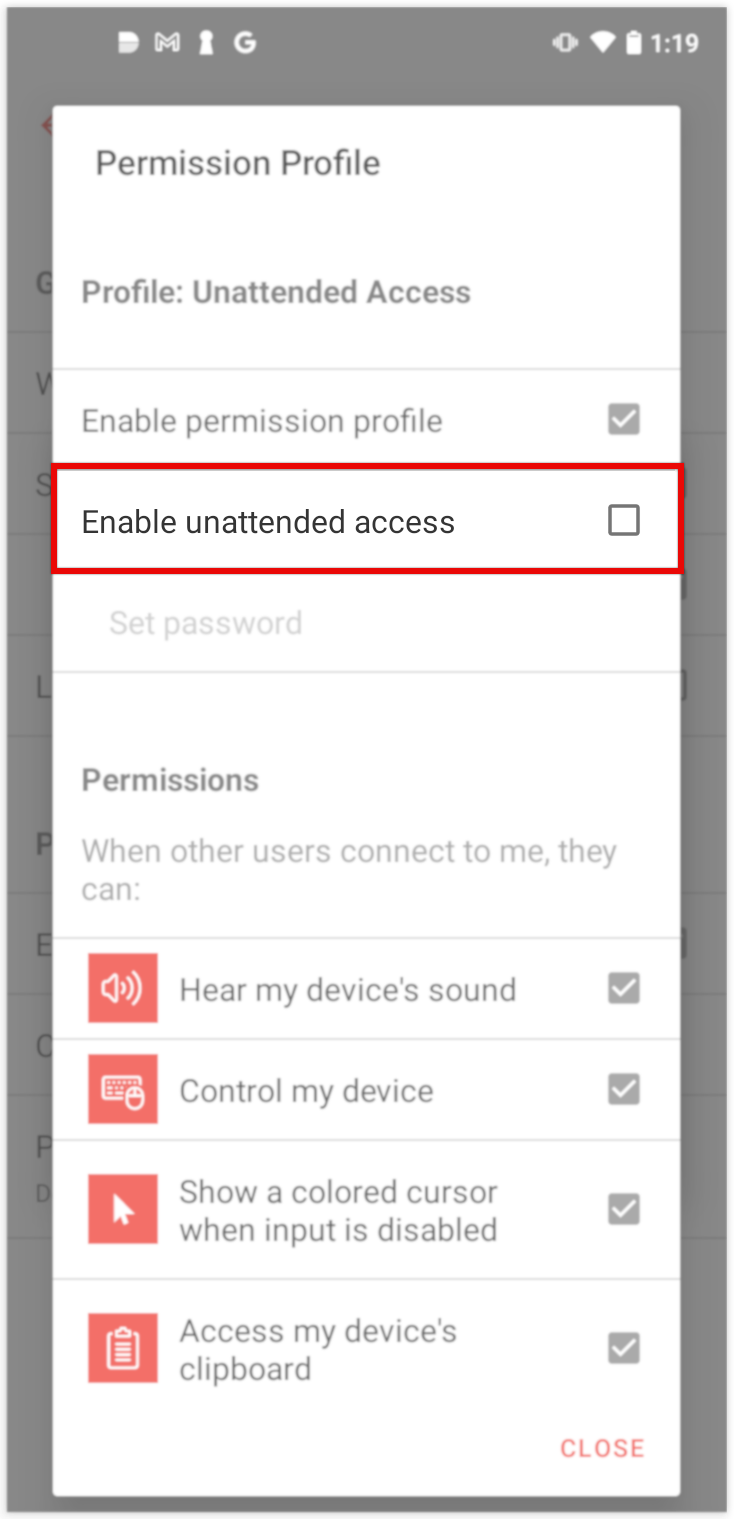
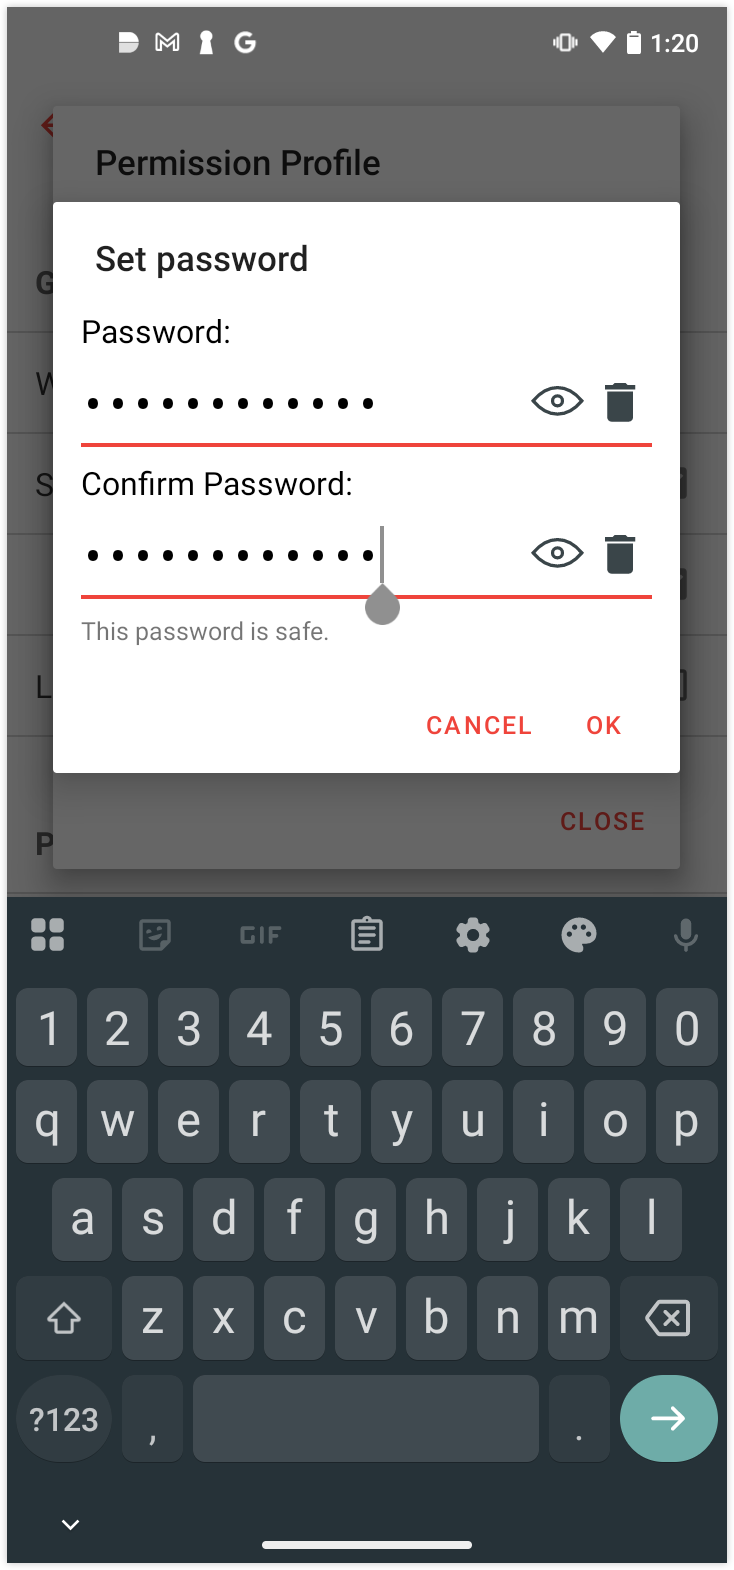
From the list, select Unattended Access.
Select Enable unattended access, then set up a secure password and tap OK.
By completing these steps, you will configure Unattended Access on your Android device. This allows you to connect more quickly and perform tasks such as file transfers without requiring manual approval.
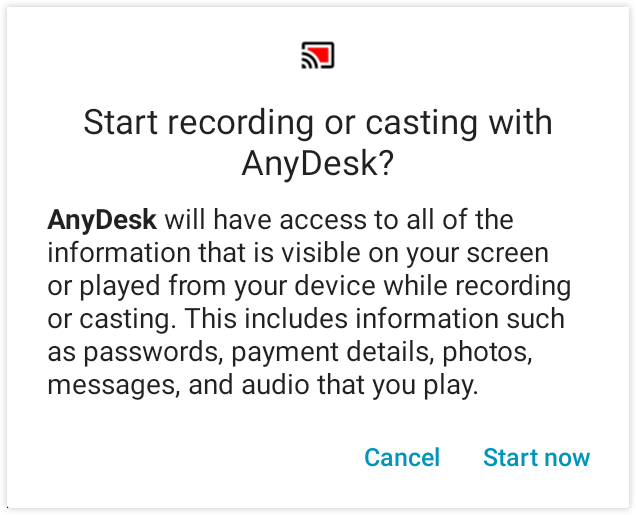
🚨 IMPORTANTOn Android 10 and newer, a screen recording confirmation prompt may still appear during remote sessions. This prompt must be manually accepted on the device by someone physically present, even if Unattended Access has been configured.
For more information, please see the AnyDesk for Android article.
Connect to a remote device via Unattended Access
When connecting to an AnyDesk client with two-factor authentication (2FA) enabled, you will be prompted to enter a 6-digit authorization code from your authenticator app immediately after submitting the unattended access password, whether manually or automatically.
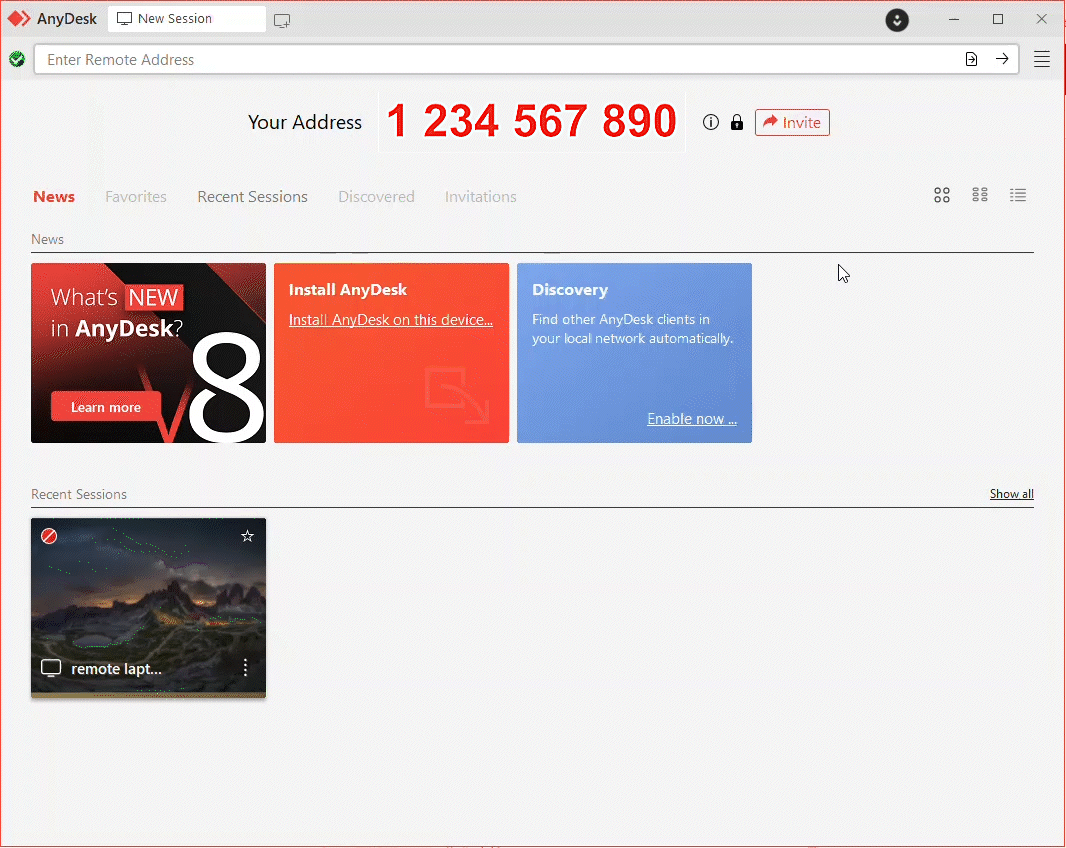
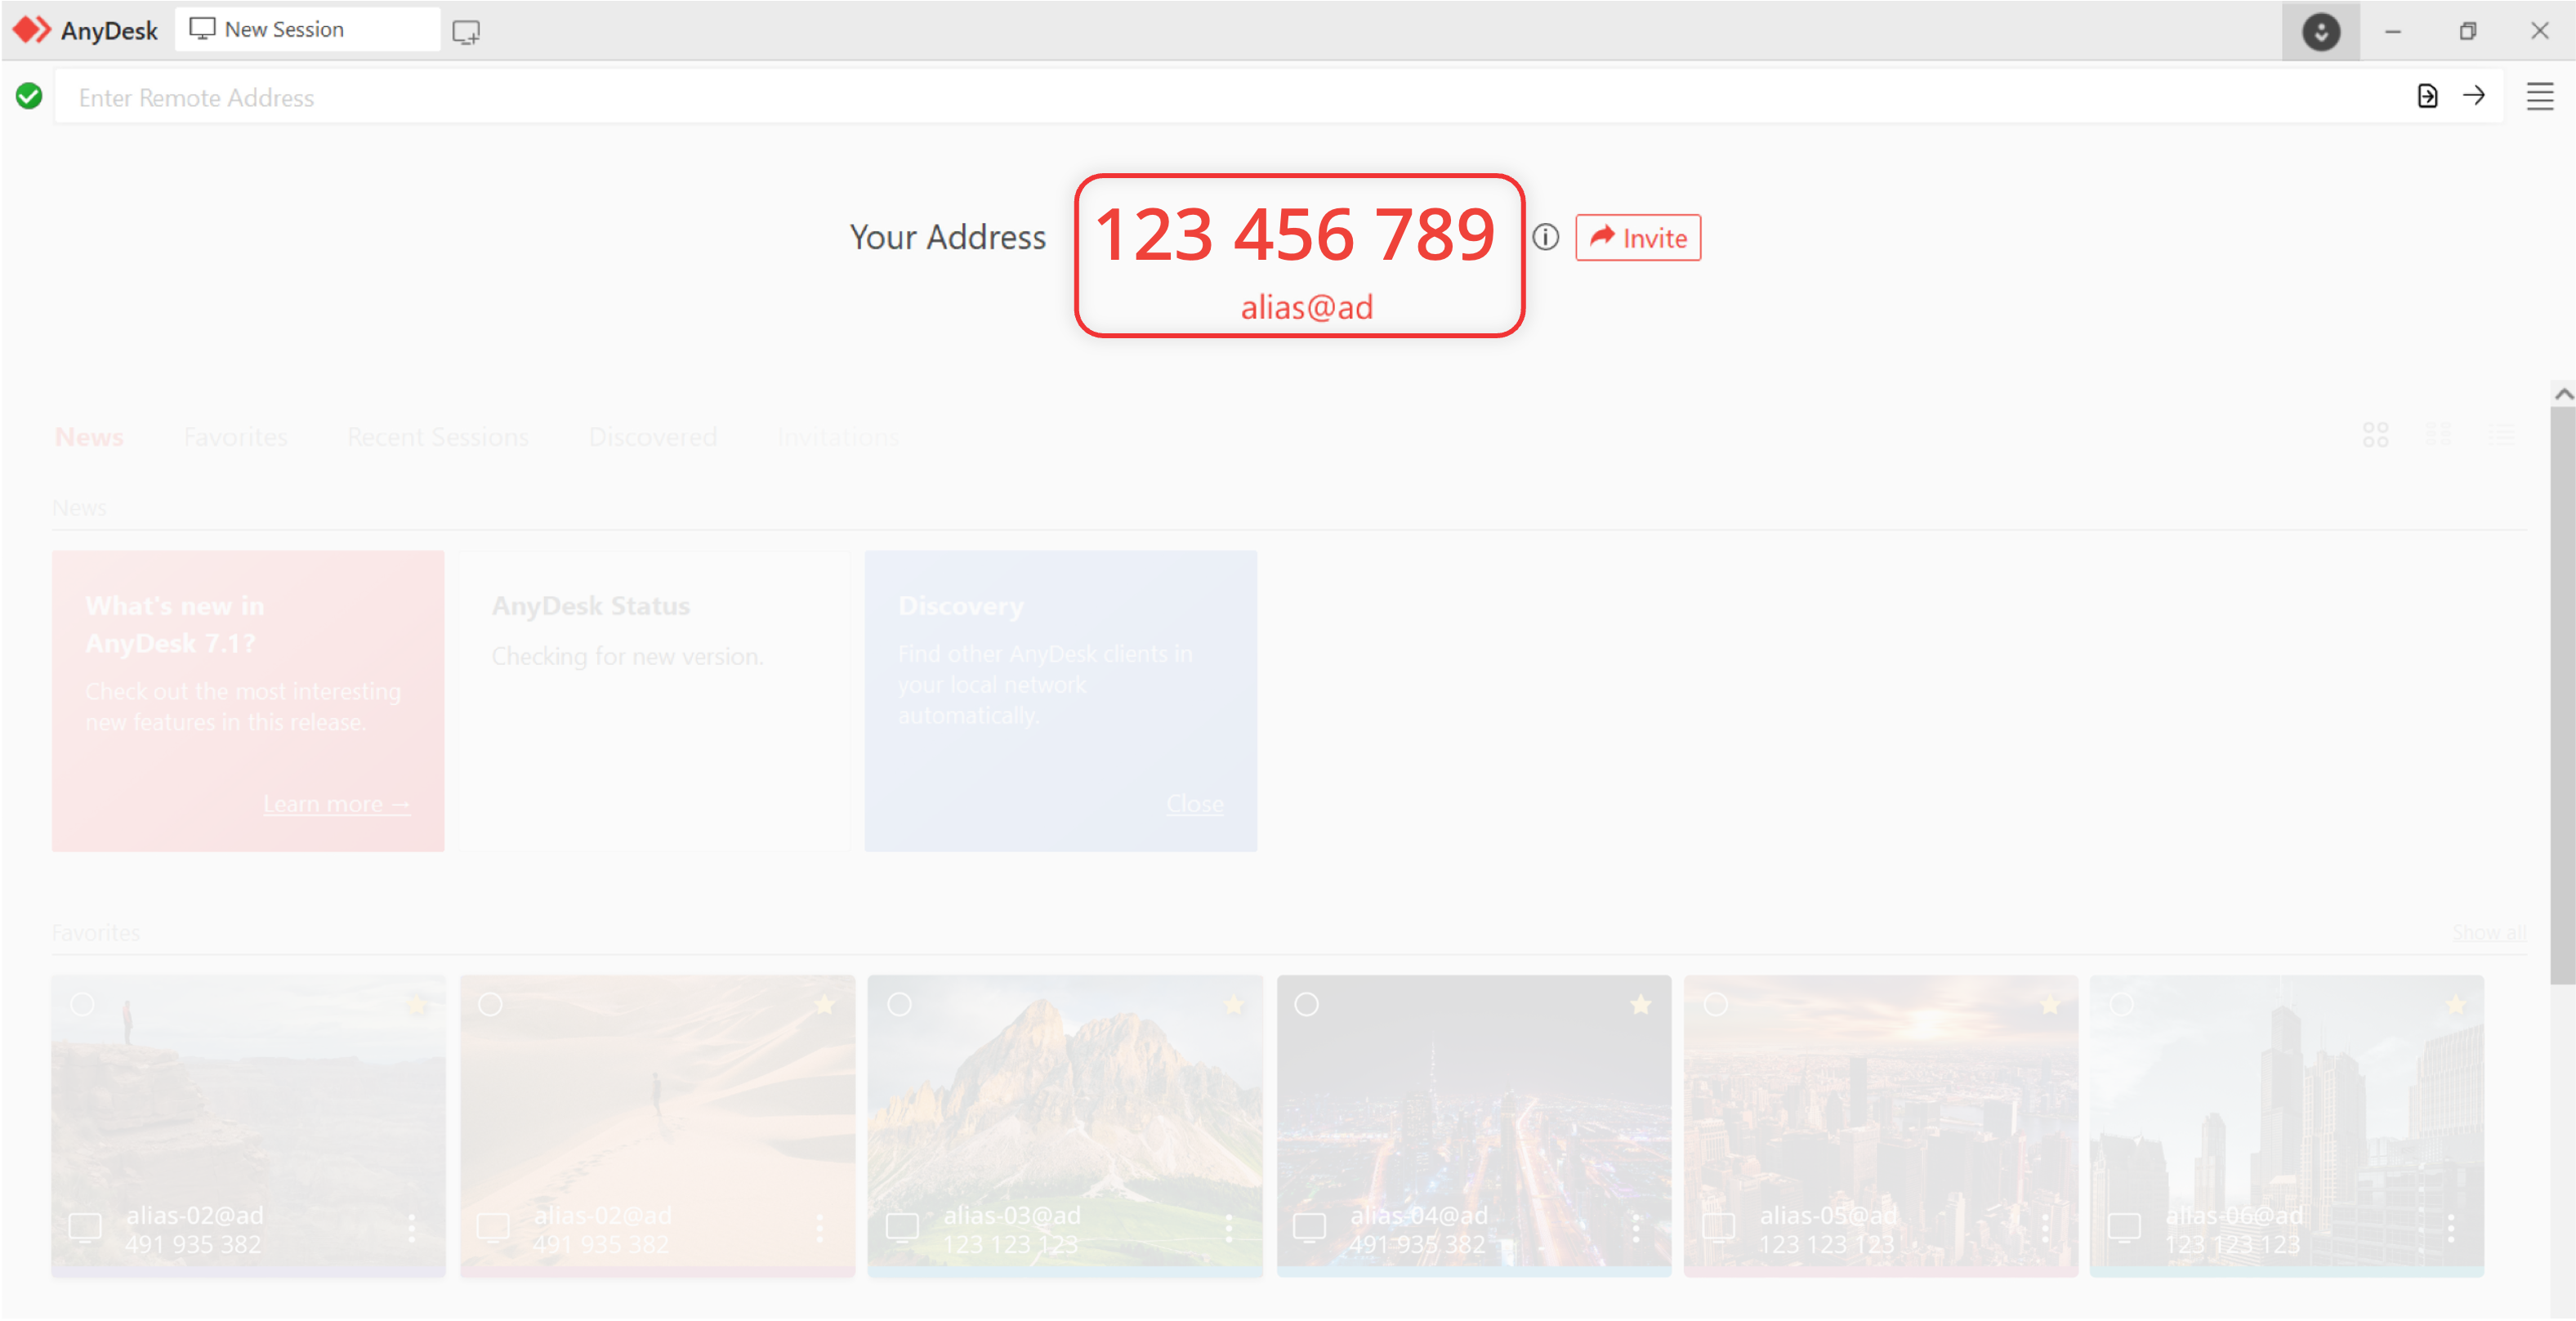
Get the remote device's AnyDesk ID or Alias.
On the local device, from which you want to connect to the remote device, enter the AnyDesk ID in the Remote Address field and click
 or press Enter.
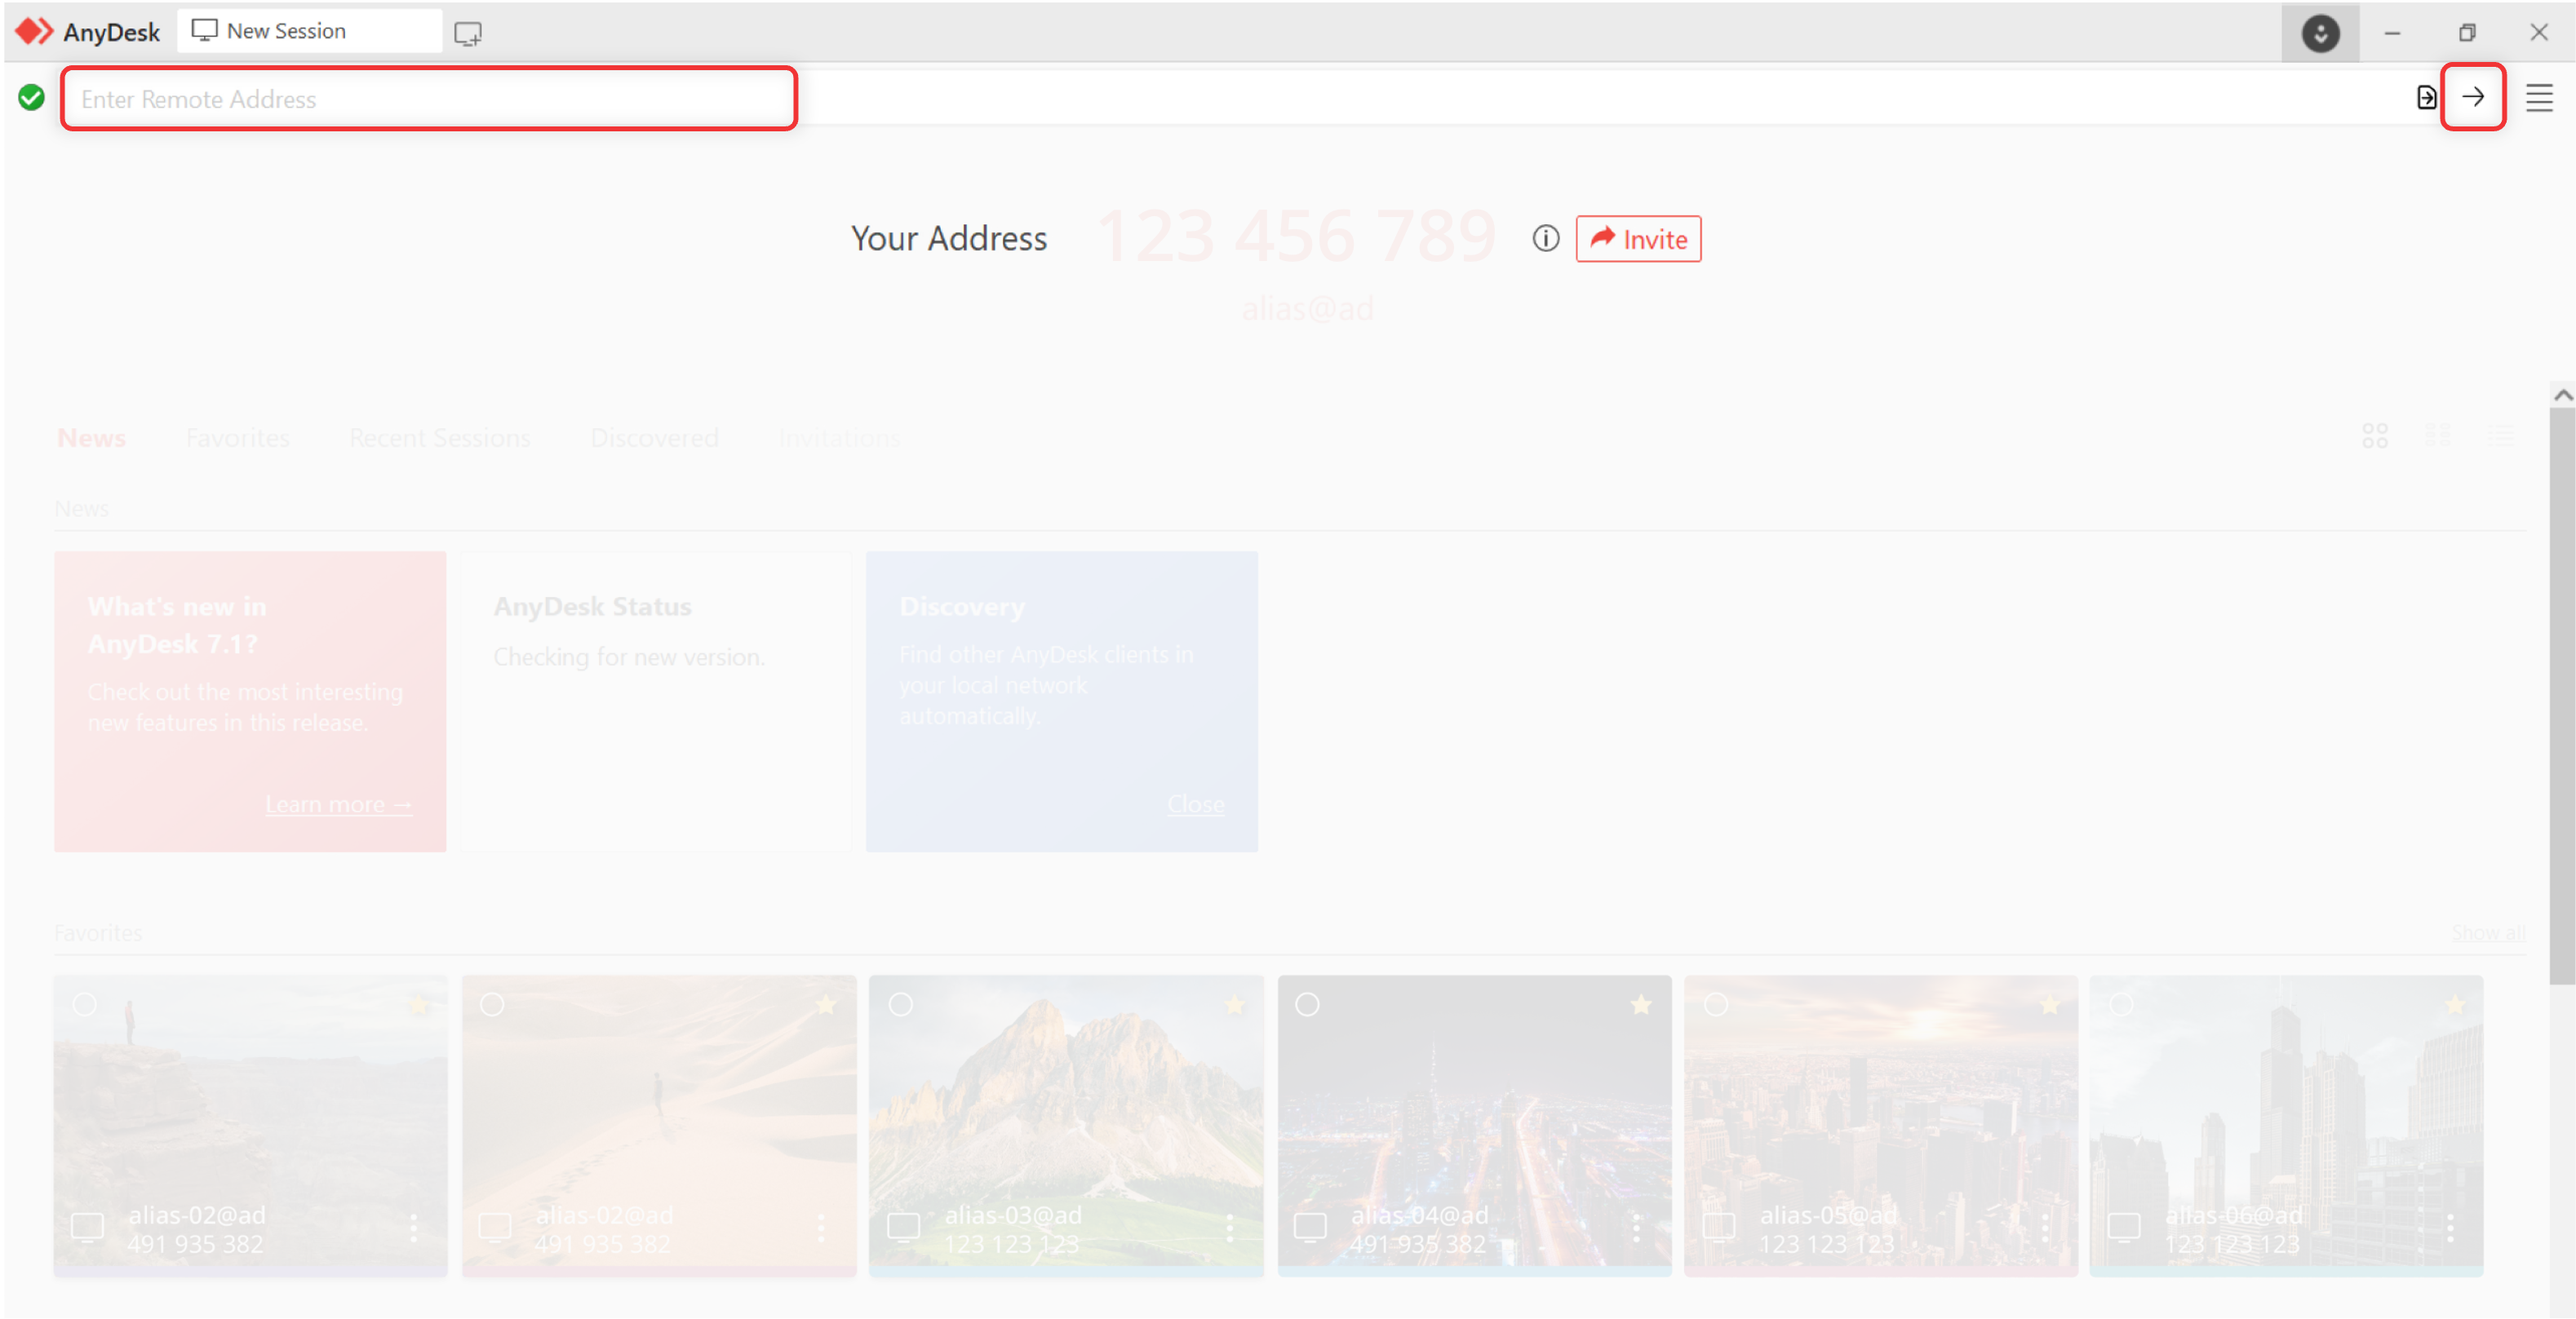
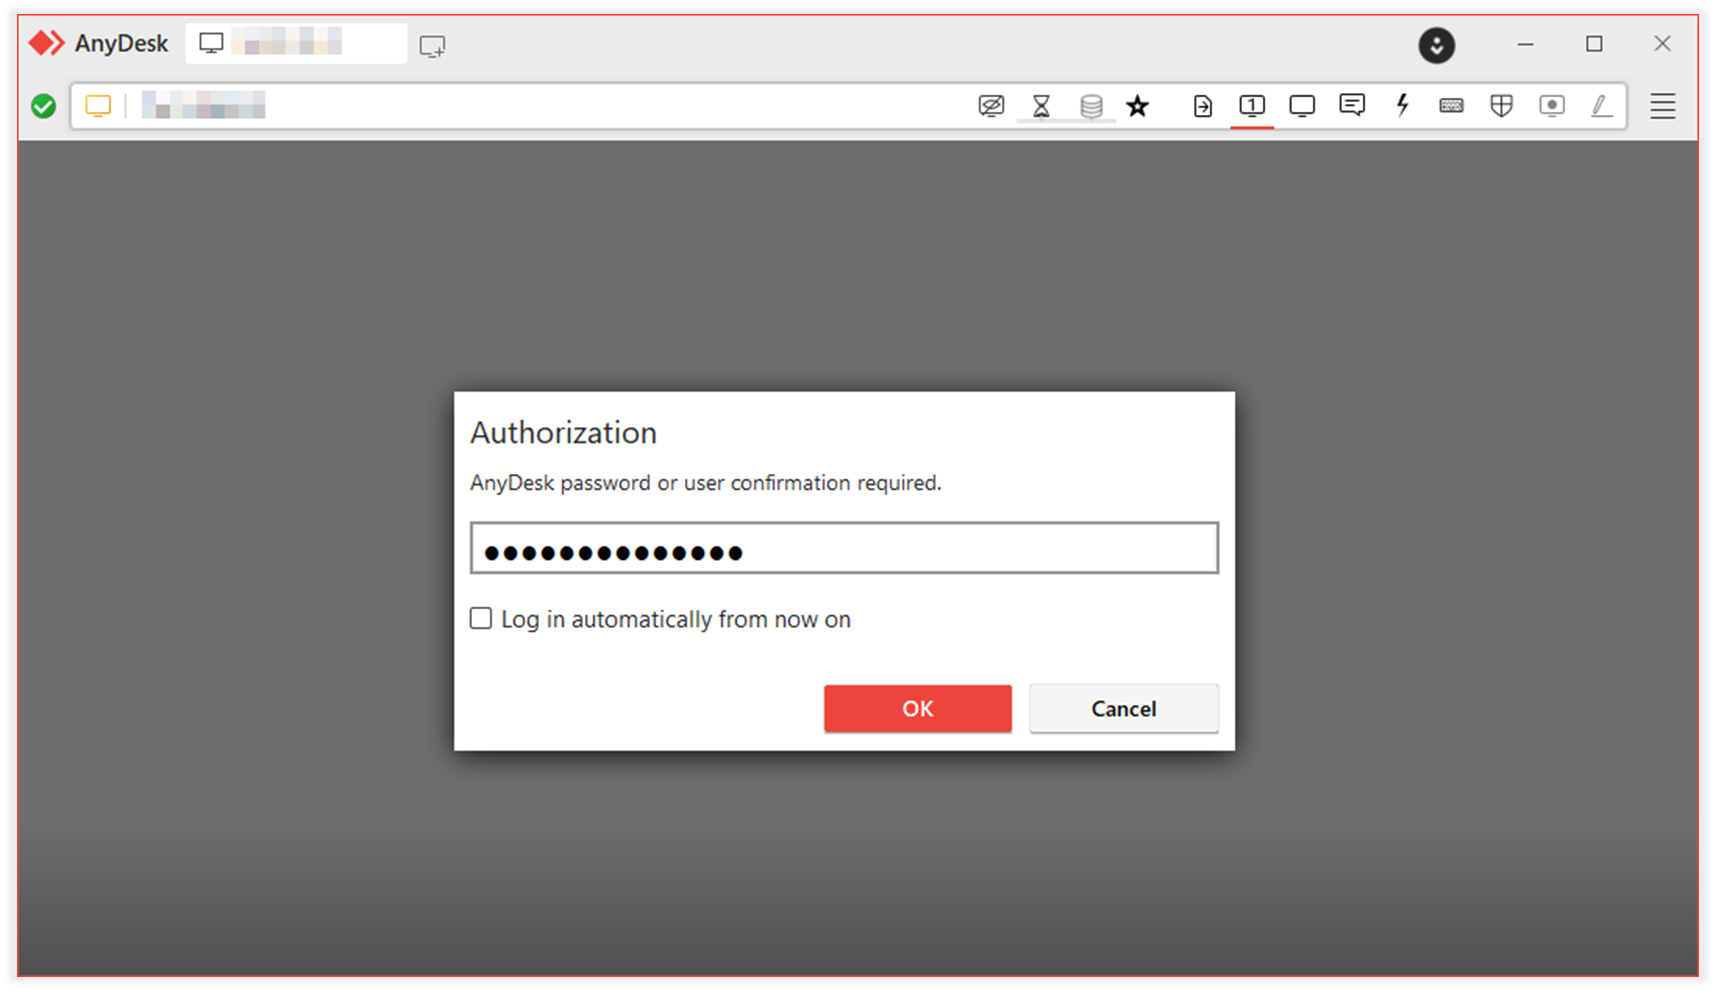
When prompted, enter the Unattended Access password that you previously set up on the remote device.
Once connected, the session will start and you will see the Remote Desktop. You can now control the device, transfer files, and more.
Manage Unattended Access
Enable login saving
You can configure AnyDesk to remember the Unattended Access password for future sessions. This allows trusted clients to connect without re-entering the password each time.
To allow login information to be saved:
On the remote device, go to Settings > Access > Unattended Access.
Select the Allow other computers to save login information for this computer checkbox.
When this option is enabled and the Unattended Access password is entered correctly, the connecting client will see the checkbox: Log in automatically from now on.
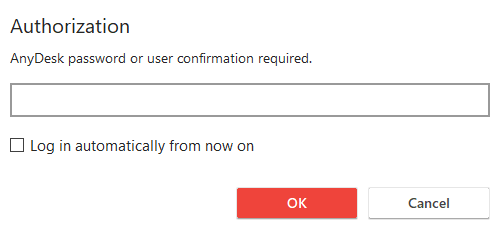
Selecting this checkbox stores a token on the connecting device. This token is then used for future logins, allowing the connection to be established automatically, without entering the password again.
Reset or revoke saved login tokens
You can reset all saved tokens from the remote device by:
Selecting Clear all tokens
Changing the Unattended Access password
After resetting, all clients will need to re-enter the password to connect.
To stop issuing new tokens:
Clear the Allow other computers to save login information for this computer checkbox.
Existing tokens will remain valid unless cleared manually.
🚨 IMPORTANT
Passwords are never stored. Instead, a one-time token is generated by the remote device after successful authentication.
Tokens are device-specific and can only be used by the AnyDesk app that received them.
If someone has full access to the AnyDesk app device, they cannot retrieve the password in plain text.
Changing the password (even to the same value) invalidates all tokens.
Set up 2FA for Unattended Access
💡 NOTE
Before setting up the 2FA, install an authenticator app (e.g., Google Authenticator, Microsoft Authenticator, FreeOTP) on your mobile device.
AnyDesk provides Two-Factor Authentication (2FA) for remote access to devices without someone physically present.
To enable 2FA verification for Unattended Access connections:
Open the AnyDesk app, in the upper-right corner, click
.png) and select Settings.
and select Settings.In Settings, navigate to Access and in the Unattended Access section, select the Enable Two-Factor Authentication checkbox.
A prompt will appear where you can scan the QR-Code or paste the key into one of our recommended authenticators.
Enter the authorization code from the authenticator and click Enable authorization.
🚨 IMPORTANTIf the correct authentication code is entered but the Enable authorization button is still grayed out, ensure the time on both the authenticator and the AnyDesk device is synchronized. Since the codes are time-based, they will fail if the times are not aligned.
Allow users to skip 2FA verification
We recognize the importance of two-factor authentication (2FA) for enhancing security. However, we also acknowledge that 2FA may not be necessary for many users after the initial verification.
To address this, AnyDesk provides two options for administrators to allow connecting users to skip 2FA verification:
Automatic Login: If the Enable for saved login information checkbox is unticked, AnyDesk will not ask for the 2FA verification code when a user connects using the Automatic Login token.
Short-term Passwords: If the Enable for short-term passwords (e.g., remote restart) checkbox is unticked, AnyDesk will not ask the 2FA verification code when automatically reconnecting a session, such as during a Remote Restart.
By customizing these settings, administrators can streamline the user experience while maintaining appropriate security measures.
Always double-check when a third-party contacts you and demands your AnyDesk ID. We (AnyDesk Software) will never ask for your password and legitimate companies will never contact you without you having initiated the communication first. In case you are seeking the help of a PC repair service, please make sure you know the vendor.
Allow only Unattended Access connections
You can configure AnyDesk to accept only Unattended Access connections and block interactive session requests.
To enable this:
Open AnyDesk, in the upper-right corner, click
and select Settings.Go to Security > Interactive Access.
Select Never show incoming session requests.
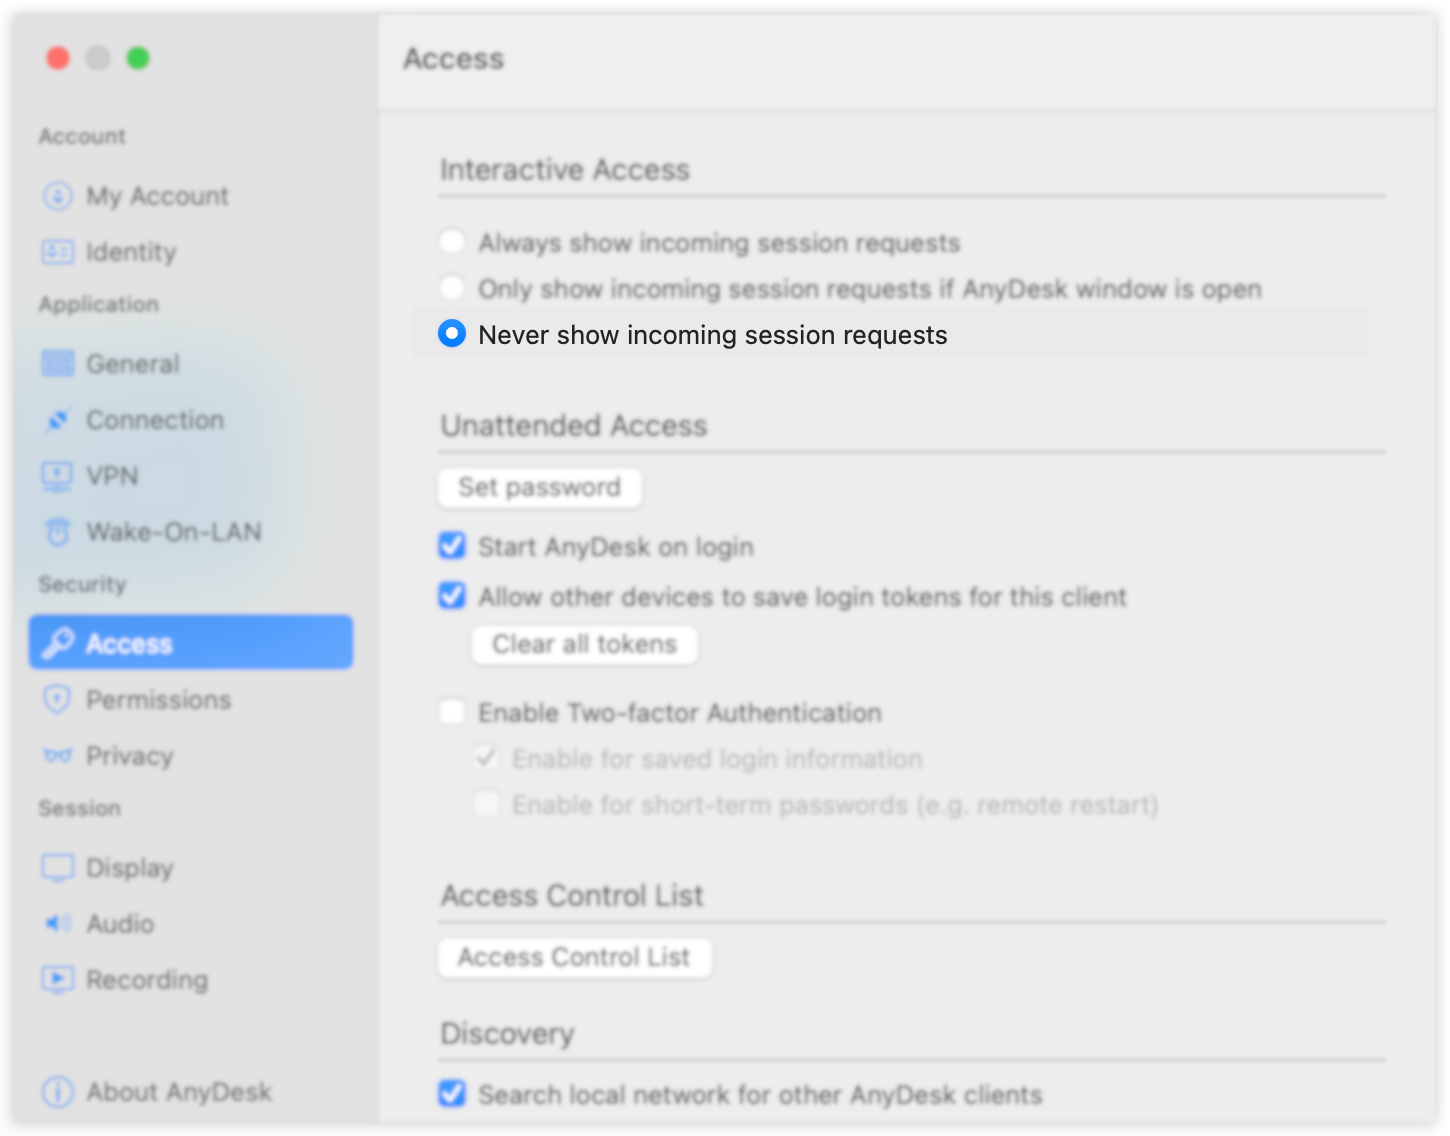
When this option is enabled, the device will no longer display connection requests. Only connections authenticated with the Unattended Access password will be allowed.
FAQ
Is it necessary to install AnyDesk on the remote device for Unattended Access?
It is highly recommended to install AnyDesk on the remote device to ensure connectivity after a system restart or sign-out.
Can I use Two-Factor Authentication (2FA) with Unattended Access?
Yes, AnyDesk supports Two-Factor Authentication for Unattended Access connections.
What should I do if the 2FA authorization button is grayed out?
Ensure that the time on both the authenticator and the AnyDesk device is synchronized, as the codes are time-based.
Can I skip 2FA verification for future connections?
Yes, administrators can configure settings to allow users to skip 2FA verification for saved login information or short-term passwords.