License: Standard, Advanced, Ultimate-Cloud
Relevant for: Admin, IT agent, or users with permissions to create custom clients.
In the my.anydesk II management console, you can create and customize your own AnyDesk client using the Custom Client Generator. Once created, the client can be installed on multiple devices.
When creating a custom client in my.anydesk II, you will complete the following steps:

Step 1. General - select the operating system and connection type, configure build and client settings.
Step 2. Security - set the password for Unattended Access, whitelist clients in Access Control List, and manage proxy settings.
Step 3. Visual - select the icon for the build, set the disclaimer text and the in-app logo.
Step 4. Finish Build - review and finalize the build configuration.
To create a custom client:
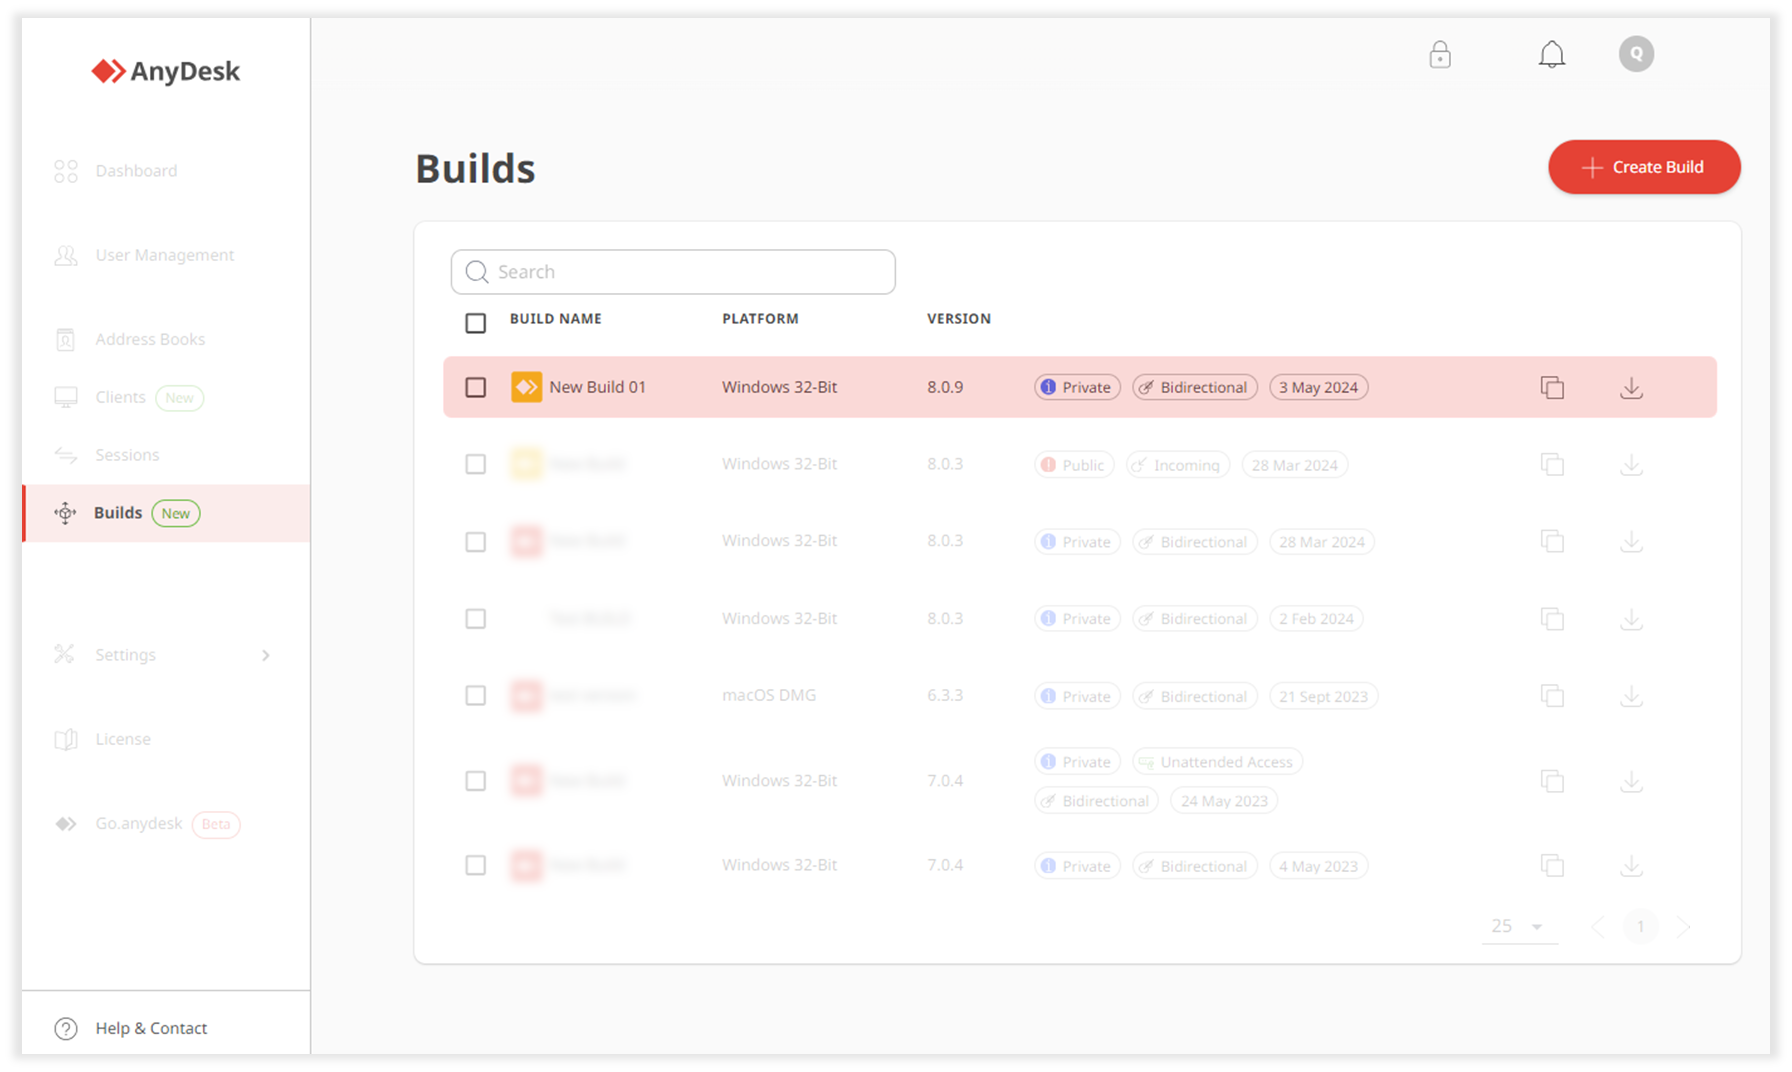
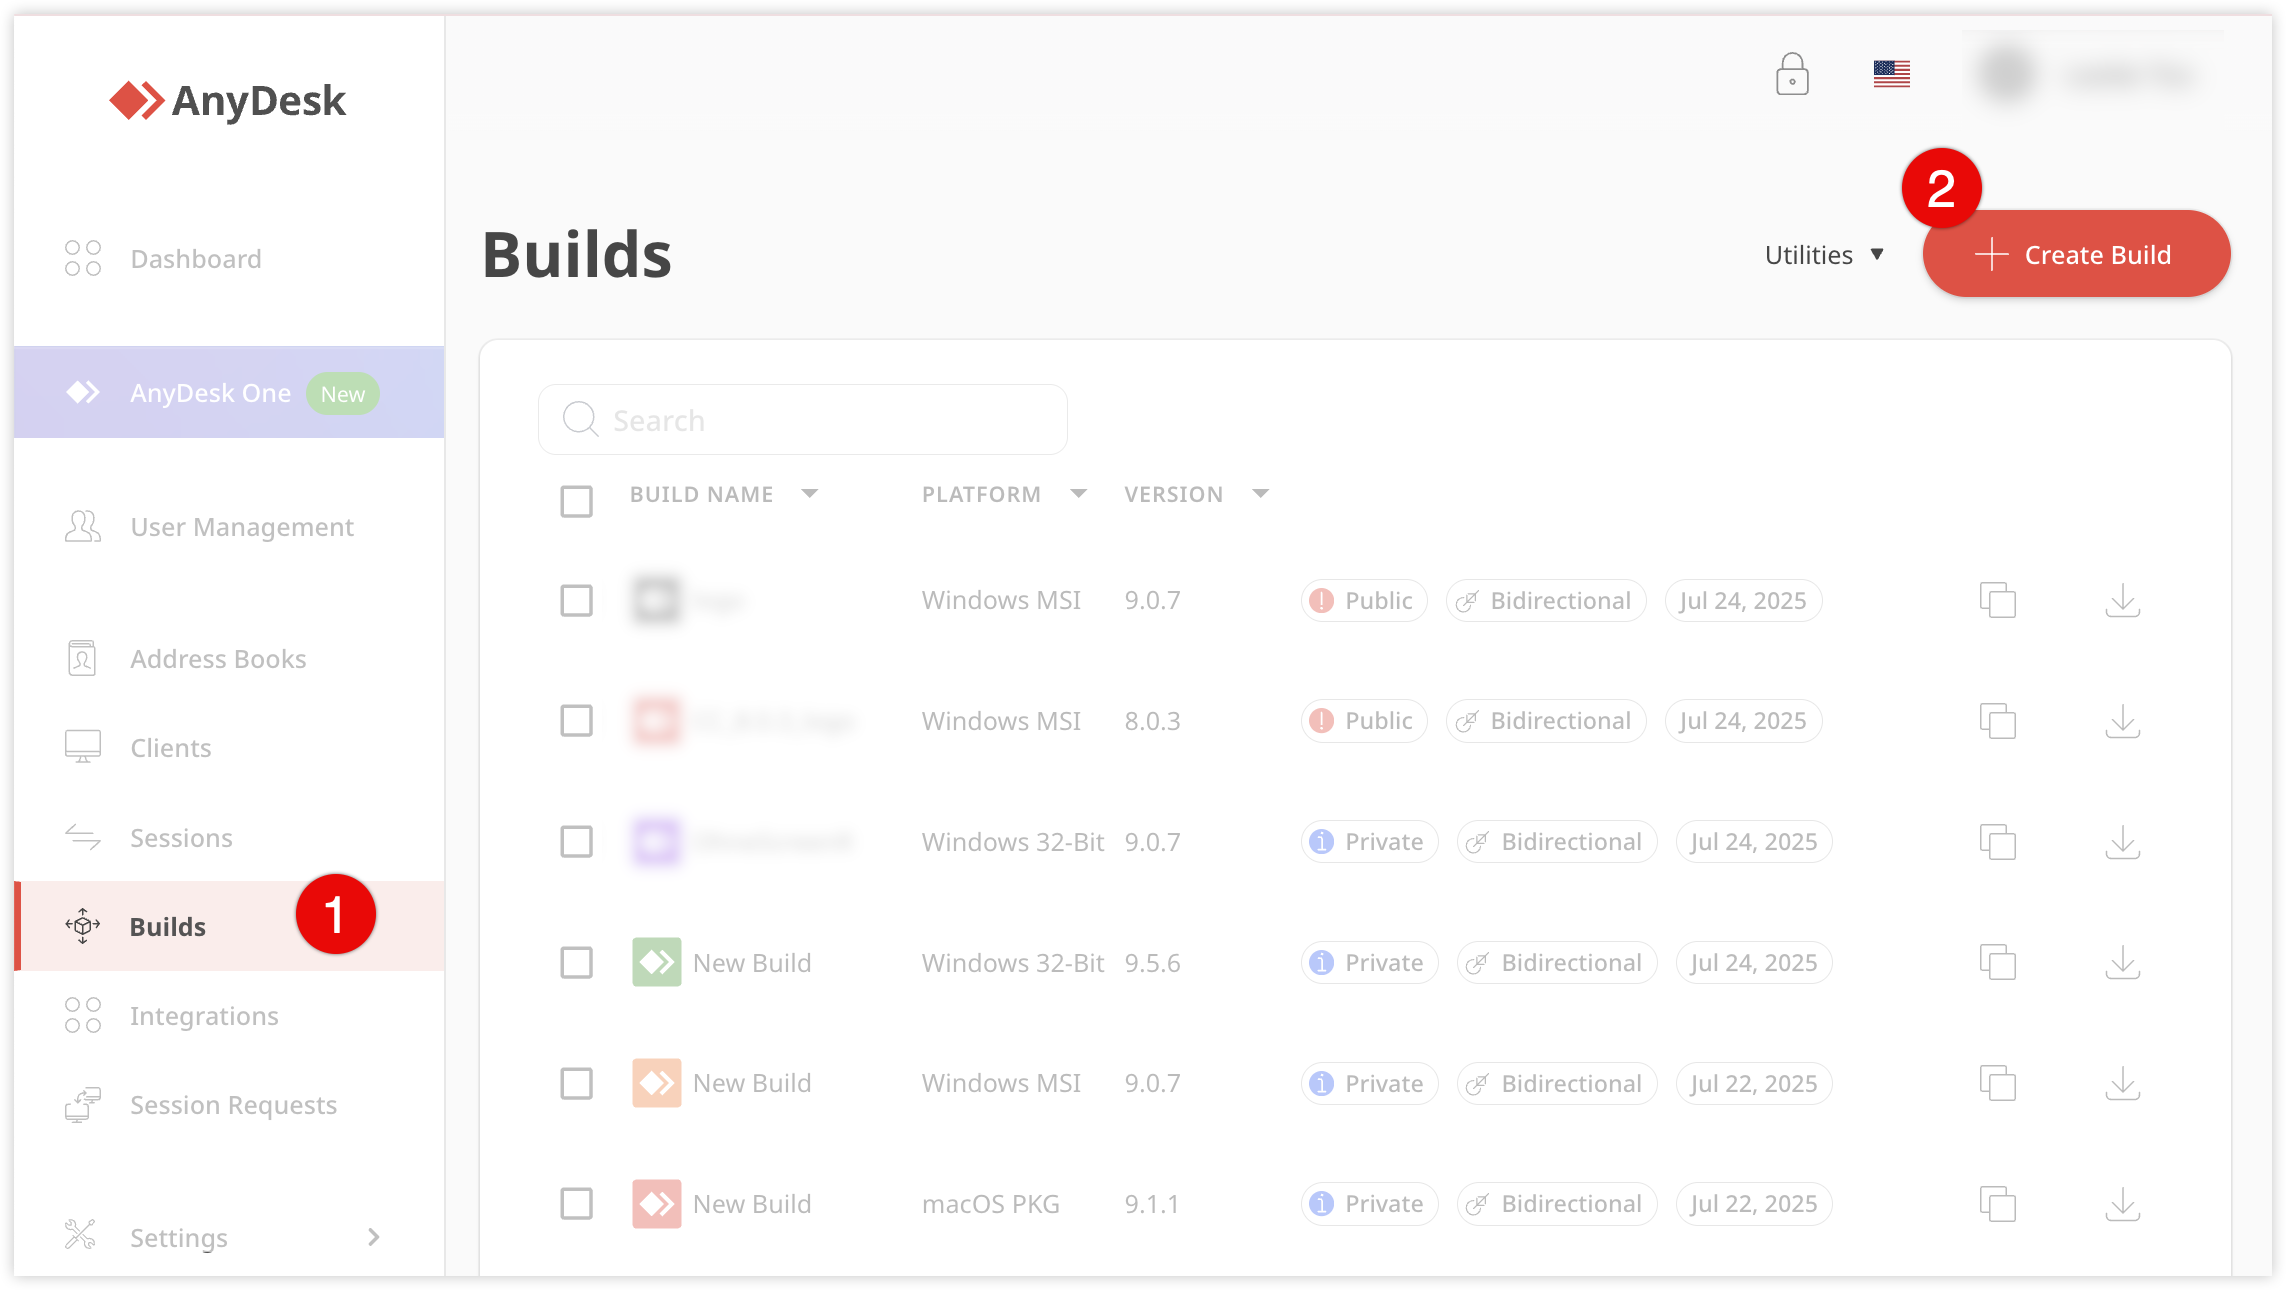
In my.anydesk II, go to Builds and click Create Build.
Step 1. General
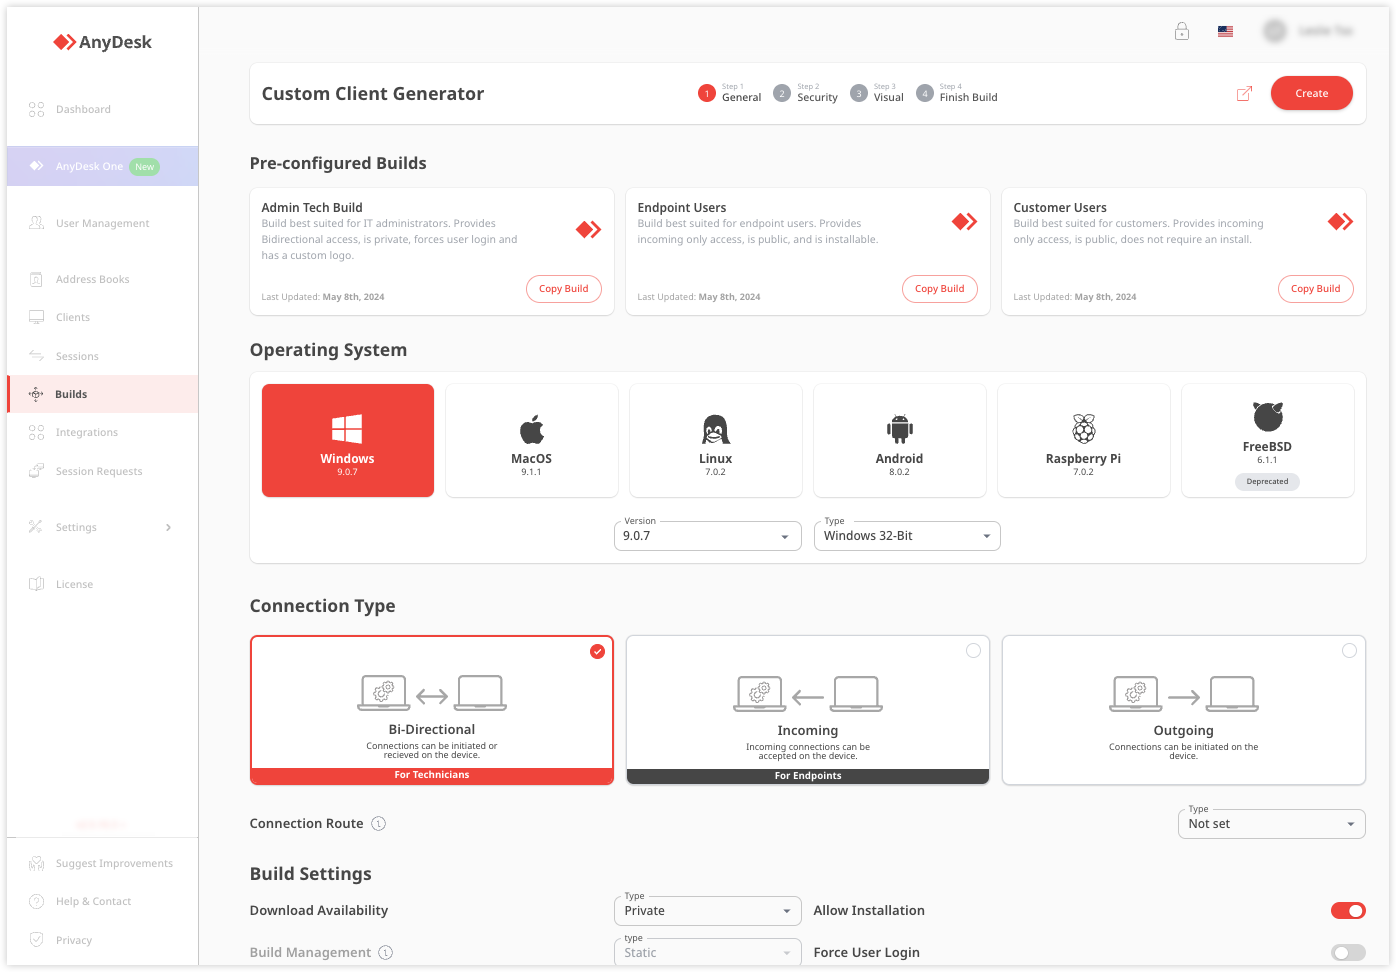
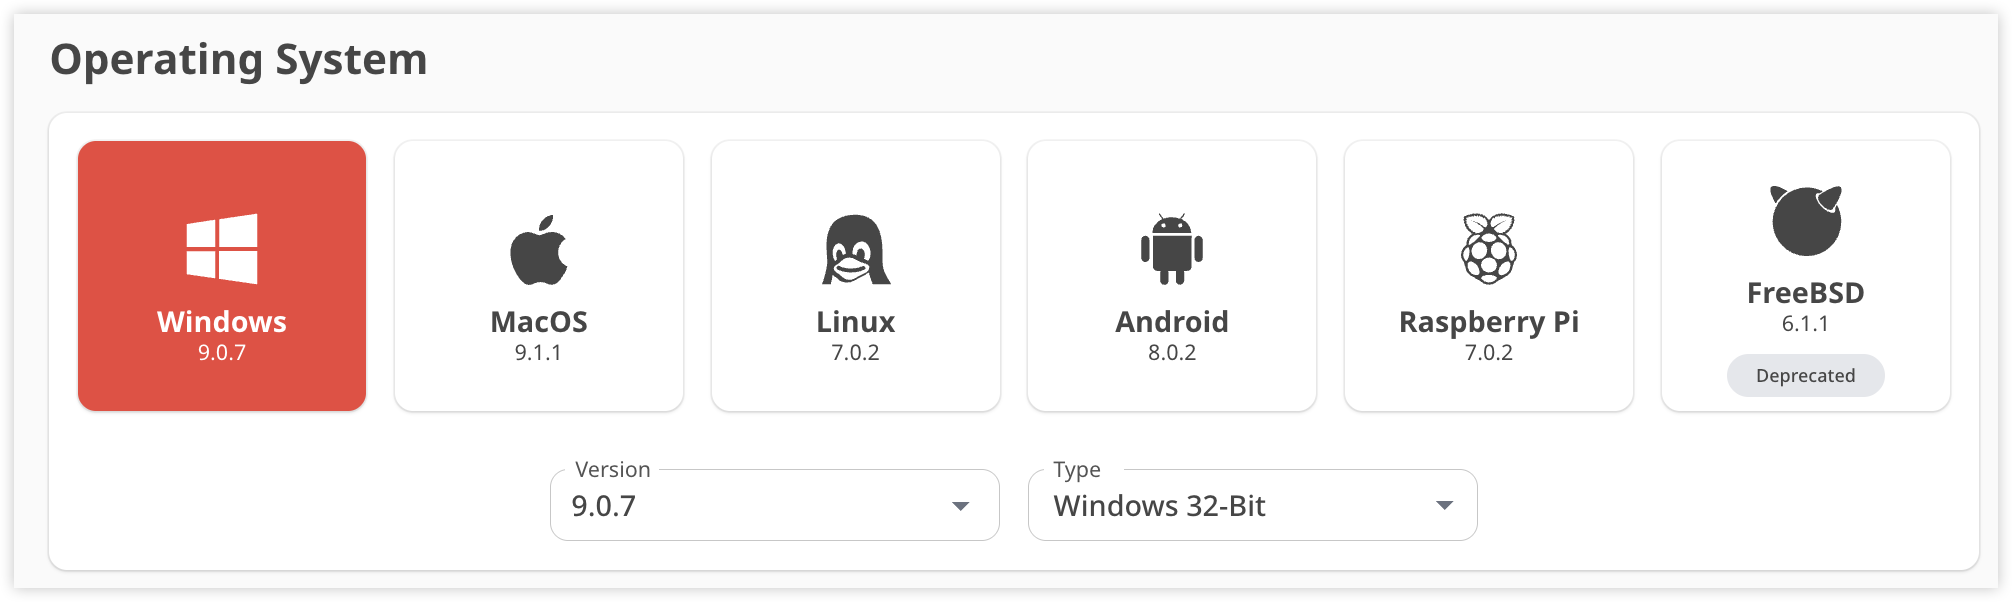
In the Operating System section, select the target operating system - Windows, MacOS, Linux, Android or Raspberry Pi.
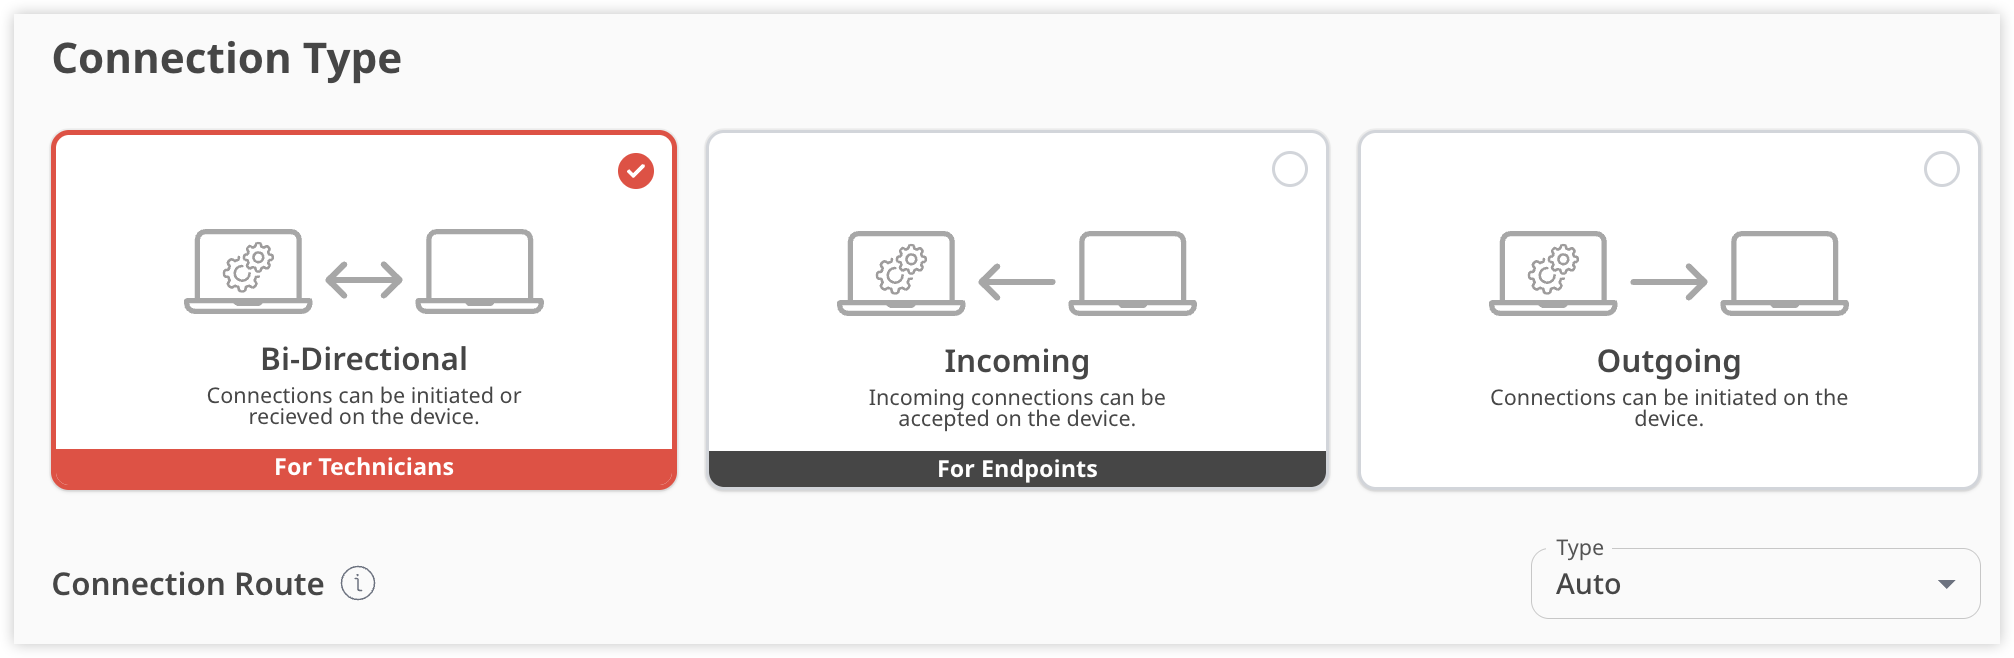
⚠️ Depending on the operating system you select, different customization options will be available.In the Connection Type section, select one of the following connection types:
Bidirectional - a client from which you can create connections to another device and receive incoming connection requests to your device.
Incoming - a client that can only receive a connection from another device.
Outgoing - a client from which you can only create an outgoing connection.
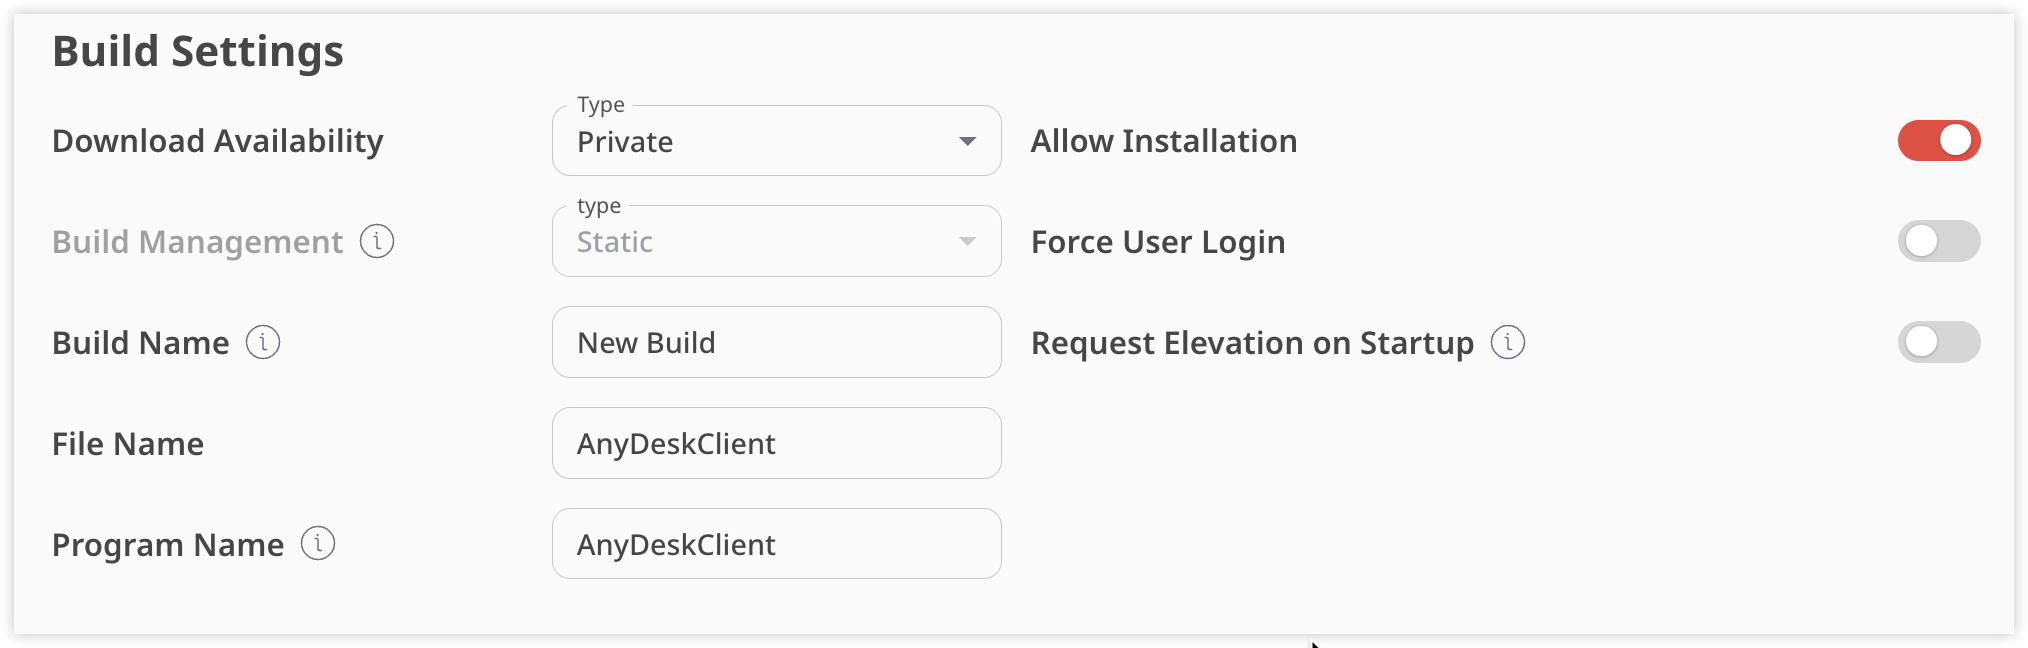
In the Build Settings section, provide the following information:
Download Availability - select the type of a download link for this custom client configuration:
Private - a download link only accessible for users with an account linked to the license which is used to create a custom client configuration.
Public - a download link with a unique URL that anyone can access without logging in. Only users who know the URL can download the custom client. The public link to a client never changes, even if the custom client configuration is modified.
Build Name - choose a name for your custom client configuration. You will be able to search a custom client by its build name in the Builds section.
Allow Installation - turn on the toggle to allow users to install the custom client (Windows-only).
Request Elevation on Startup - select the checkbox to show a UAC dialog when AnyDesk is started to get administrative privileges for any remote control sessions. By default, portable versions of AnyDesk do not request elevation on startup.
Build Management - select how you want the changes to the build be implemented:
Static - the build should be redeployed on every device after each customization.
Dynamic - the build can be customized in real-time without the need to redeploy it on all devices after each change. Updates will instantly apply to all linked clients. To use the dynamic builds, see how to Activate Central Management.
File Name - type the name of the custom client file.
Program Name - specify a unique name, displayed in the start menu, control panel, etc. for installed AnyDesk clients (Windows-only).
Force User Login - select the checkbox to force users to sign in with their account in order to use the custom client (AnyDesk 7.1.0 and higher).
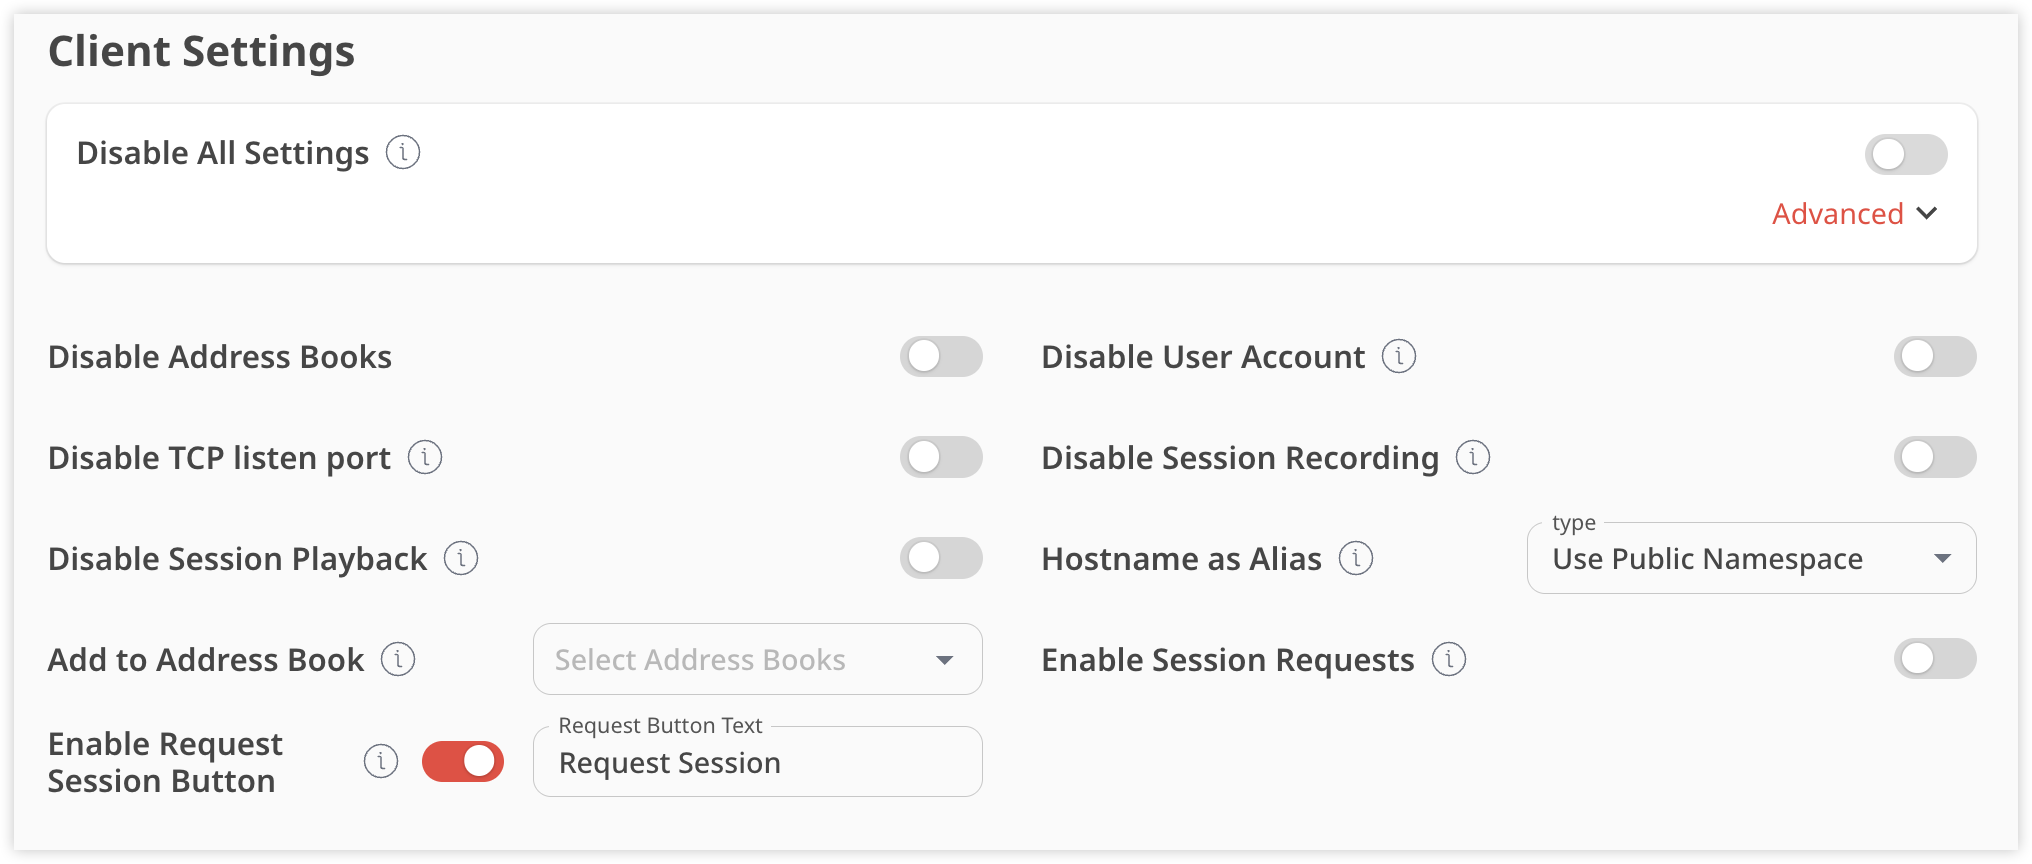
In the Client Settings section, provide the following information:
Disable All Settings - select the checkbox to disable user's access to custom client's Settings menu.
Disable Address Books - select the checkbox to disable the Address Book feature in the custom client.
Disable TCP listen port - select the checkbox to avoid the Windows Firewall dialog when AnyDesk is started.
Disable User Account - select the checkbox to remove the possibility for the user to log in to their account in the AnyDesk client.
Hostname as Alias - select the checkbox to automatically register the device hostname as Alias as long as there are no other custom client setups already on the device.
Add to Address Book - select the Address Book you want from the list, and this custom client will be added to it automatically when you install it.
Click Next.
Step 2. Security
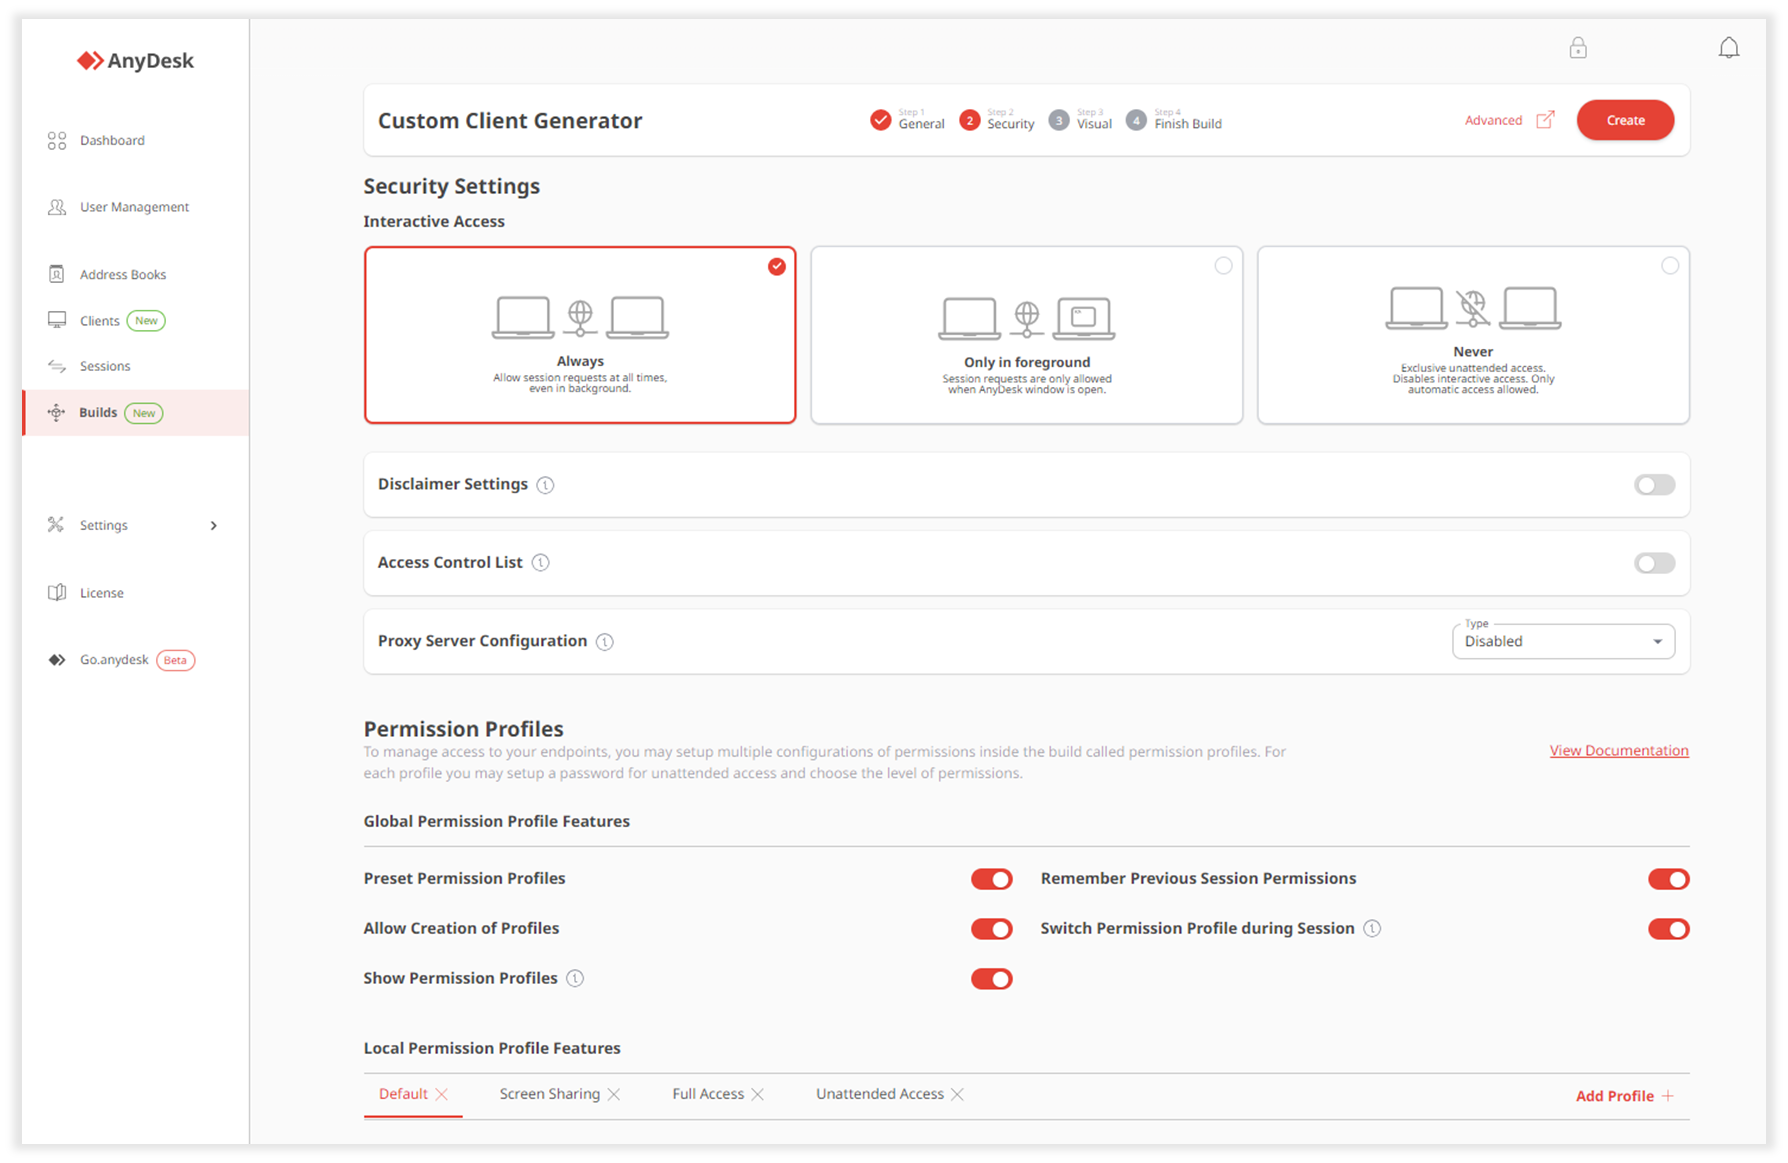
In the Security Settings section, provide the following information:
Interactive Access - select how people can make session requests to this custom client configuration:
Always - allow session requests anytime, even when AnyDesk is running in the background.
Only in foreground - allow session requests only when the AnyDesk window is open.
Never - disable interactive access. This is for unattended access only, meaning only automatic access is allowed.
Disclaimer Settings - turn on the toggle to add a disclaimer text that will show up the first time you open the AnyDesk application.
Access Control List - turn on the toggle to provide a list of IDs or Aliases that can connect to the custom client. Only IDs or Aliases matching the list will be allowed to request connections.
Proxy Server Configuration - select Detect Proxy or Custom to set up a proxy server that AnyDesk will use to connect to the AnyDesk network. If you do not wish to set up a proxy server, select Disabled.
In the Permission Profiles section, set up multiple configurations of permissions inside the build, i.e., permission profiles. For each profile, you may set up a password for unattended access and choose the level of permissions:
Global Permission Profile Features - configure the main settings for Permission Profiles.
Local Permission Profile Features - configure each Permission Profile (Default, Screen Sharing, Full Access, Unattended Access) for this client configuration.
Customize Permissions - set permissions for each Permission Profile.
Click Next.
You can customize the custom AnyDesk client even further using key-value pairs. To see a list of advanced options (key-value pairs) for custom clients, see Custom client advanced options.
By clicking Advanced Settings, provide the following information in the pop-up window:
Overwrites - this option overrides a setting without the possibility to change it back within AnyDesk. In the text box, specify a key-value pair of the feature you wish to change. For security-related features, select Overwrite Settings.
Defaults - this option changes the default setting that AnyDesk is using by default. In the text box, specify a key-value pair of the feature you wish to change.
Step 3. Visual
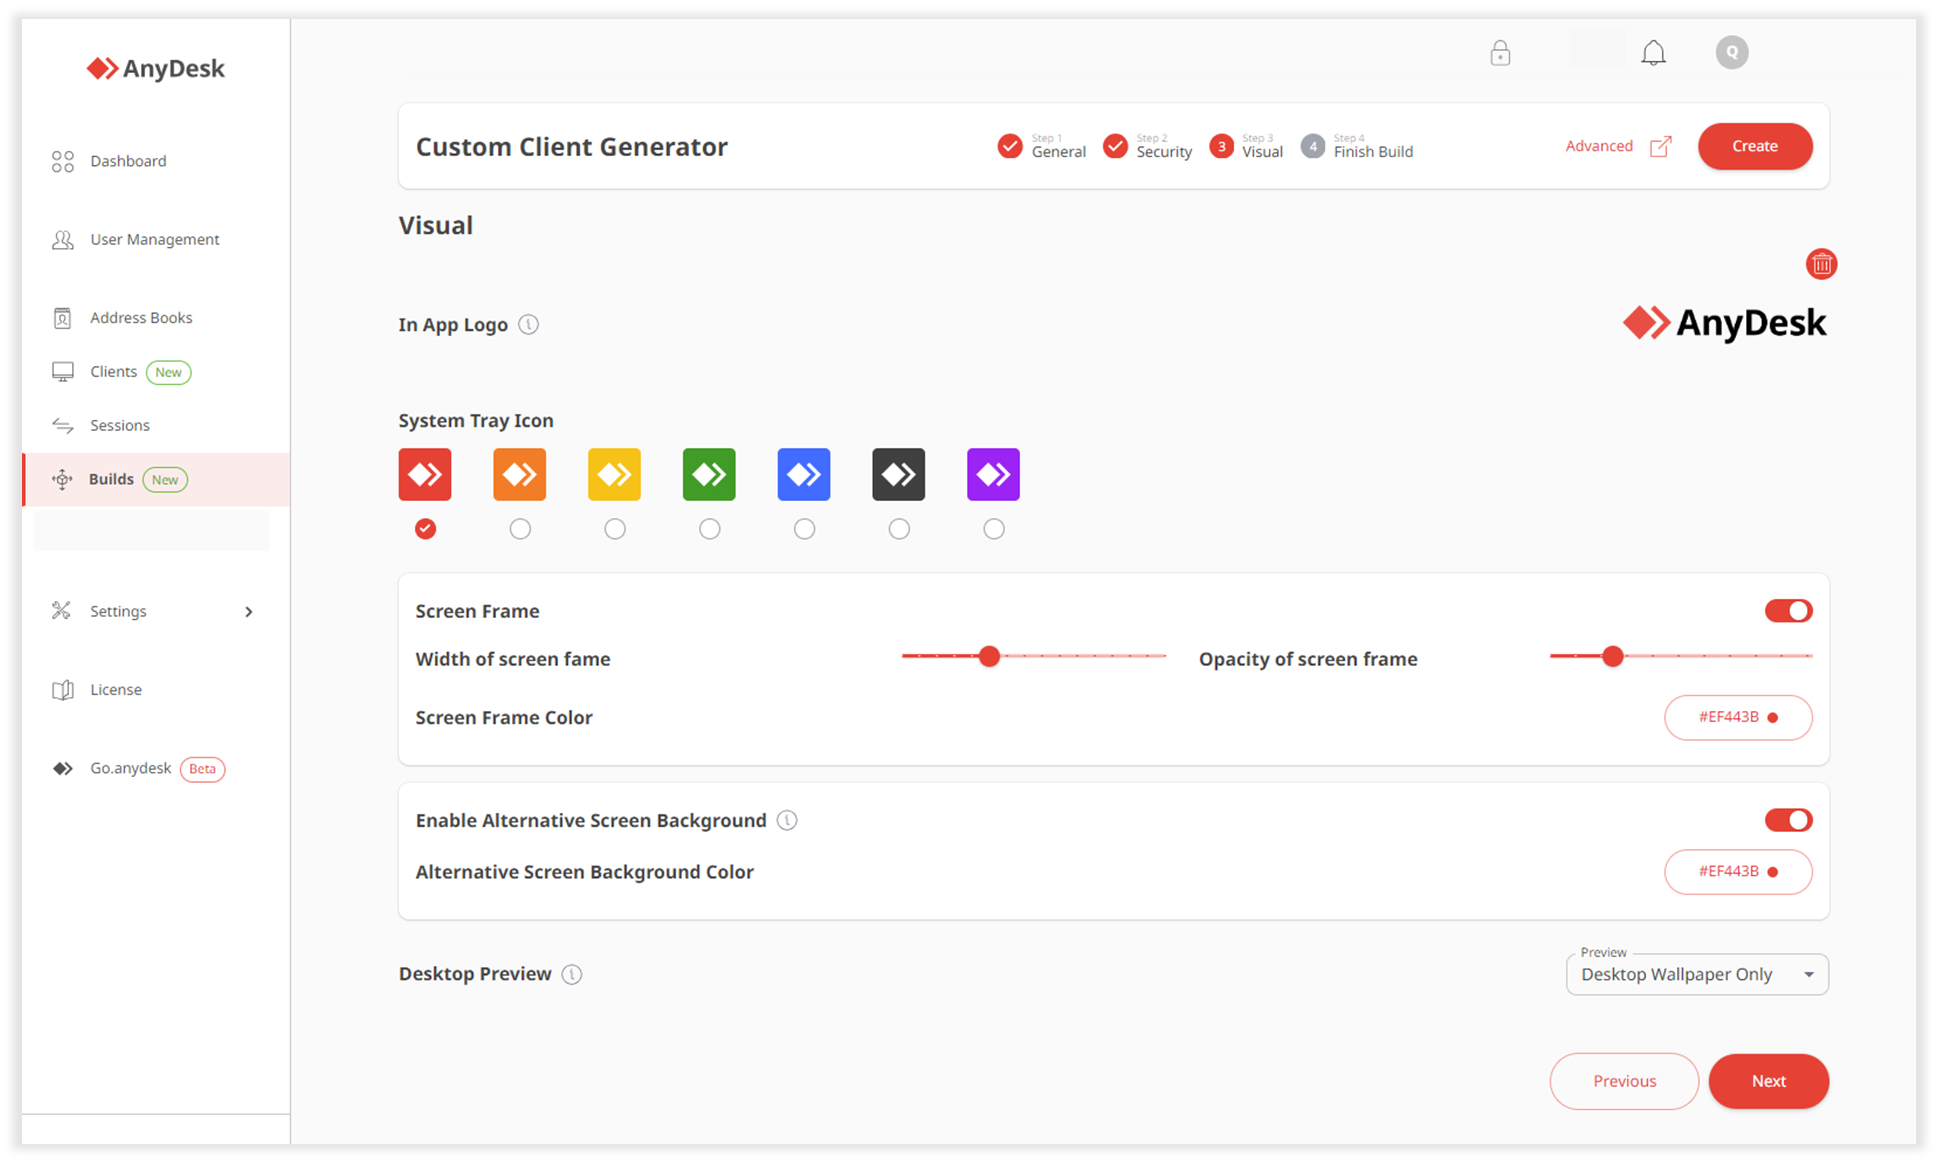
On the opened page, provide the following information:
In App Logo - upload an image that is shown at the top of the custom client’s main window. Click Upload Logo and upload an image file (
JPEGorPNG). The size is scaled automatically. We recommend using a PNG with 200x40 pixels.
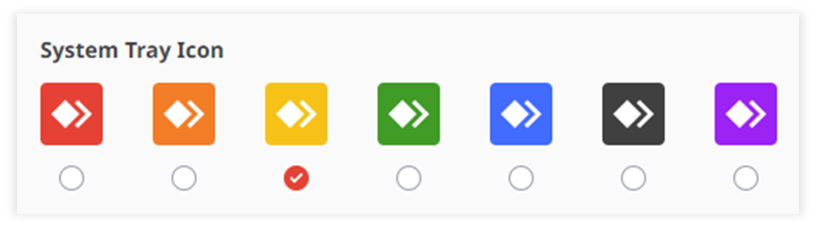
System Tray Icon - select the desired icon for your custom client configuration.
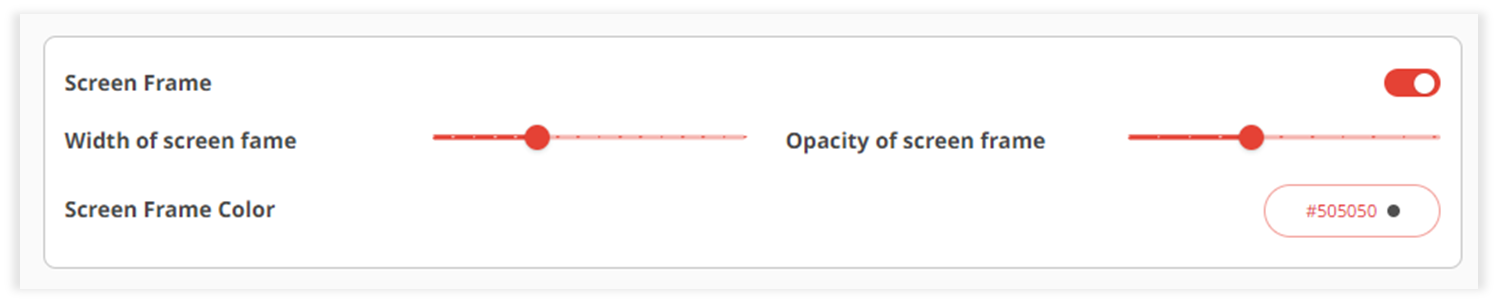
Screen Frame - turn on the toggle to enable a frame around the application. Once enabled, set up the color of the frame, width, and opacity.
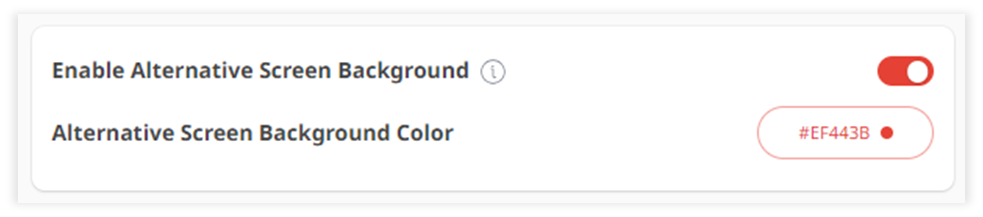
Enable Alternative Screen Background - turn on the toggle to enable the alternative screen background during a connection. Once enabled, select the color of the screen background.
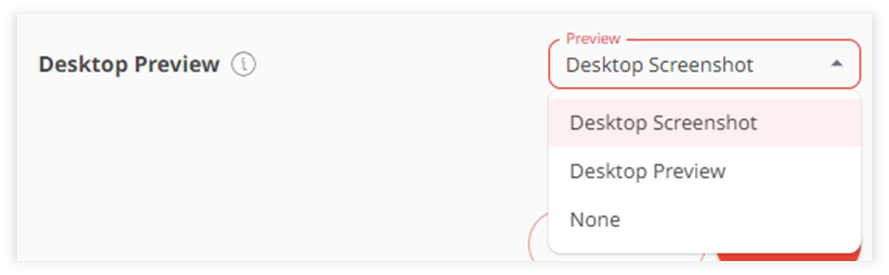
Desktop Preview - select how your desktop is previewed on other devices.
Click Next.
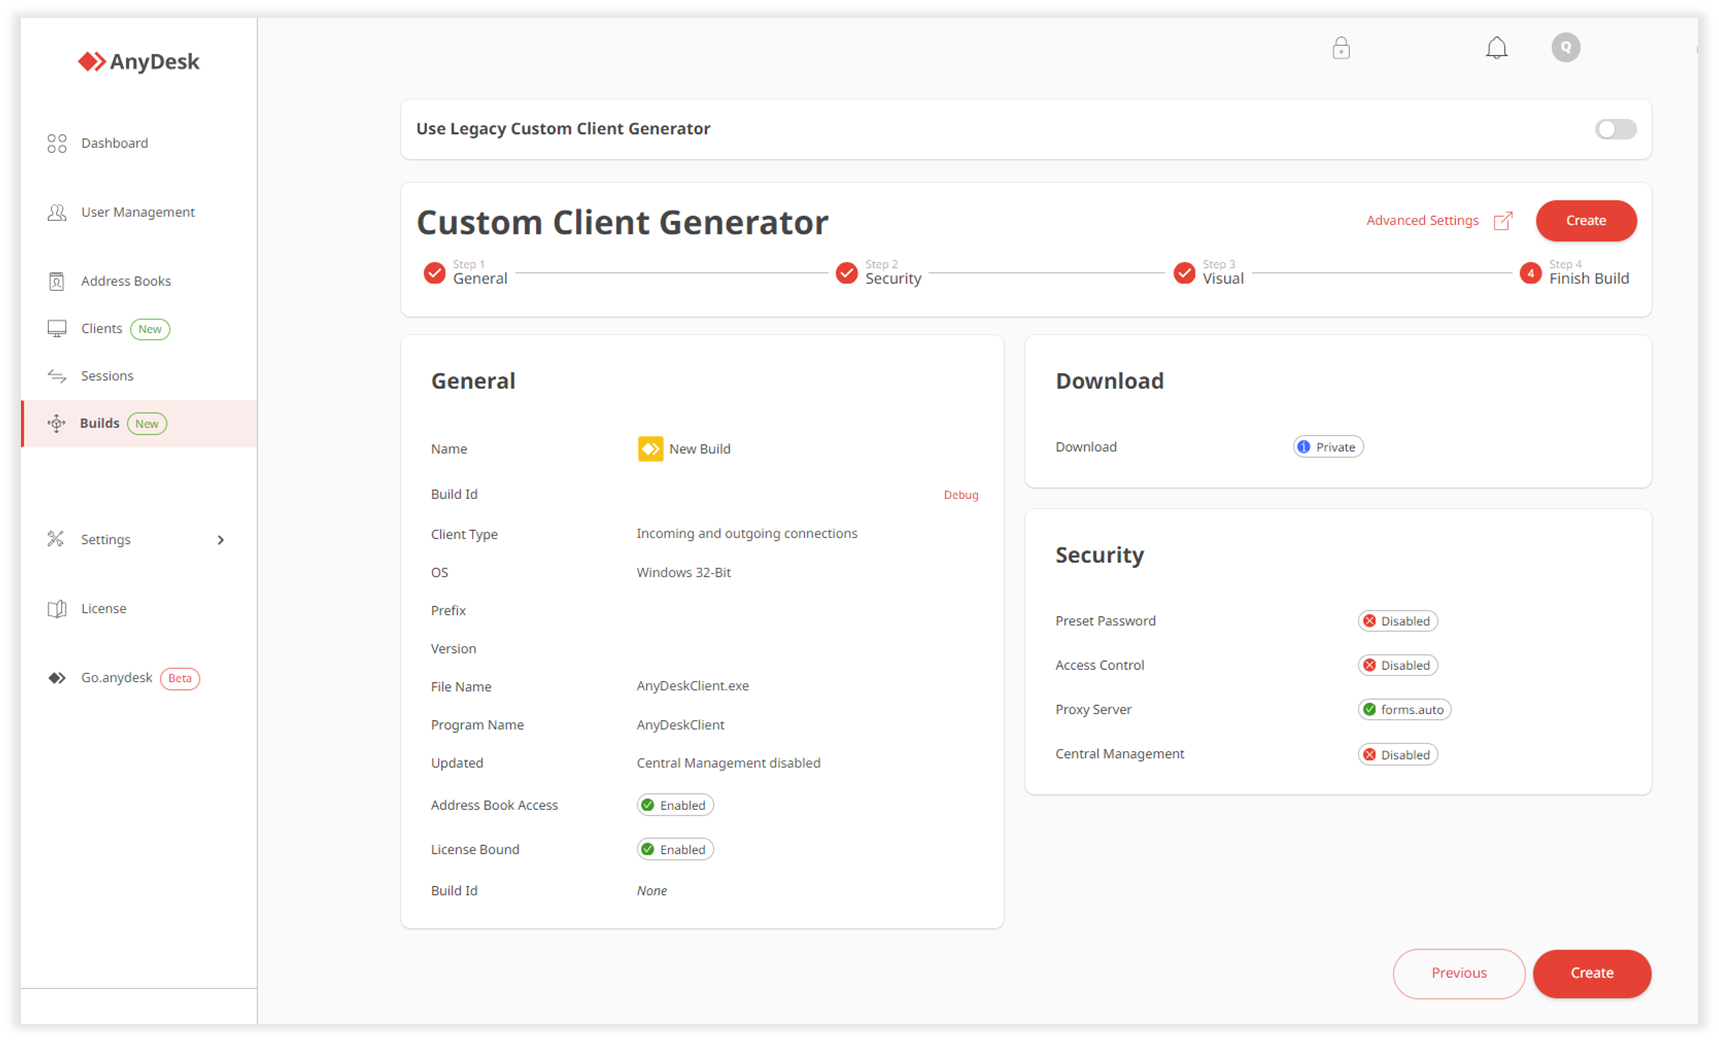
Step 4. Finish
Review the configuration of the build.
Click Create.
You can now find your custom client configuration in the Builds list by Build Name.