Table of Contents
The Address Book manages your contacts. All clients registered to your license (listed on your My.AnyDesk customer portal) share the Address Book assuming it has not been disabled via a custom client.
By adding tags to contacts, extensive amounts of entries become manageable by filtering. This feature is available for the premium AnyDesk licenses.
Create and Manage the Address Book

Open the Address Book tab with the toolbar-icon in the upper right corner.
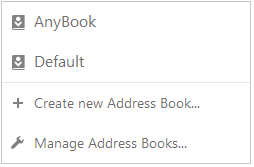
You can open the Address Book Menu by clicking the displayed address book name in the upper left corner, to list, manage, or create new address books. Double Clicking on a respective entry will connect you immediately to that ID.
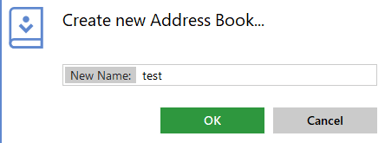
By clicking on "Create new Address Book..." a new Window will pop up where you type in the name of the new Address Book.
You can create as many new Address Books as your license allows (see Pricing) and also remove them again.

Tip: Disable the Address Book to limit access to your clients by creating a custom client. See: Customize AnyDesk.
Add Entry
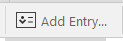
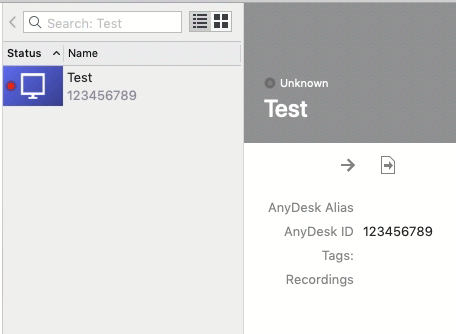
By clicking on add entry a new window will open up where can type in the important credentials.

Edit Entry
By right clicking on the the entry you have the option to edit it.
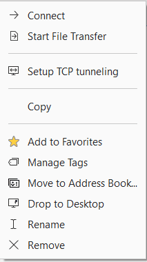
- Connect directly to that ID
- Start a File Transfer directly
- Setup a TCP tunnel to the of the network of the ID
- Copy the the entry. You can then select another address book and paste it in there
- Add the ID to Favorites
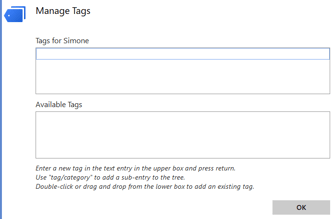
- Add or change specific Tags for the entry
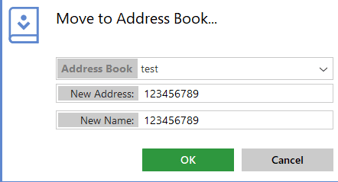
- Move the entry to another address book. A new window will then allow you to choose the the Address Book
- Create a Desktop shortcut specificity for that entry. By clicking on that shortcut the AnyDesk will activate and automatically start the session
- Rename the address book
- Delete the Address Book
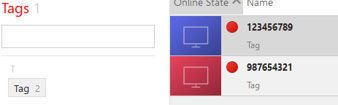
Drag & Drop Entries and Tags
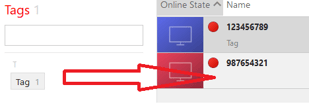
You can set up entries with already created tags by dragging them directly to the entry
macOS
The Address Book for AnyDesk for macOS works in a similar way to that of Windows and Linux.
Create and Manage the Address Book
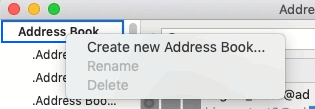
In order to create a new Address Book, simply right-click the top-most "Address Book" item or any existing Address Book and click "Create new Address Book ..." in the context menu.
To edit the name of or delete an Address Book, simply right-click the Address Book you wish to manage and select "Rename" or "Delete" respectively.
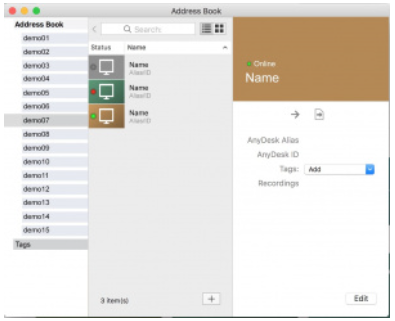
Organize Your Address Books
Click “Insert new tag”, then on the lower gear symbol choose “Add entry” to create your first entry. The following entries can be created by clicking the “+” in the tag view. You can now drag and drop your contacts.
In order to create new tags:
- Select one or more entries within the address book (remove entries from the list by clicking the gear symbol and choosing “Remove entry”)
- Click “Edit”
- Enter a new tag name
- Click “Done”
Android
To view and manage the Address Book on Android, you need to assign the license key to the AnyDesk application. To do so, please see AnyDesk for Android.
After the client has been licensed, you can find the Address Book through the hamburger menu found in the upper left corner of the AnyDesk application.
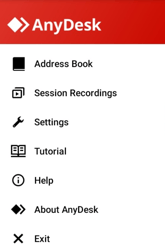
As with the other supported platforms, you can add Address Books and Address Book entries. From there you can also manage the Address Book entries as well as existing tags for those entries.